Collapse test

Collapse test

To start off, I recorded footage of a wall within the University of Lincoln and imported it to Blender. From there, I 3D tracked the footage so that I am able to add 3D models into the sequence.
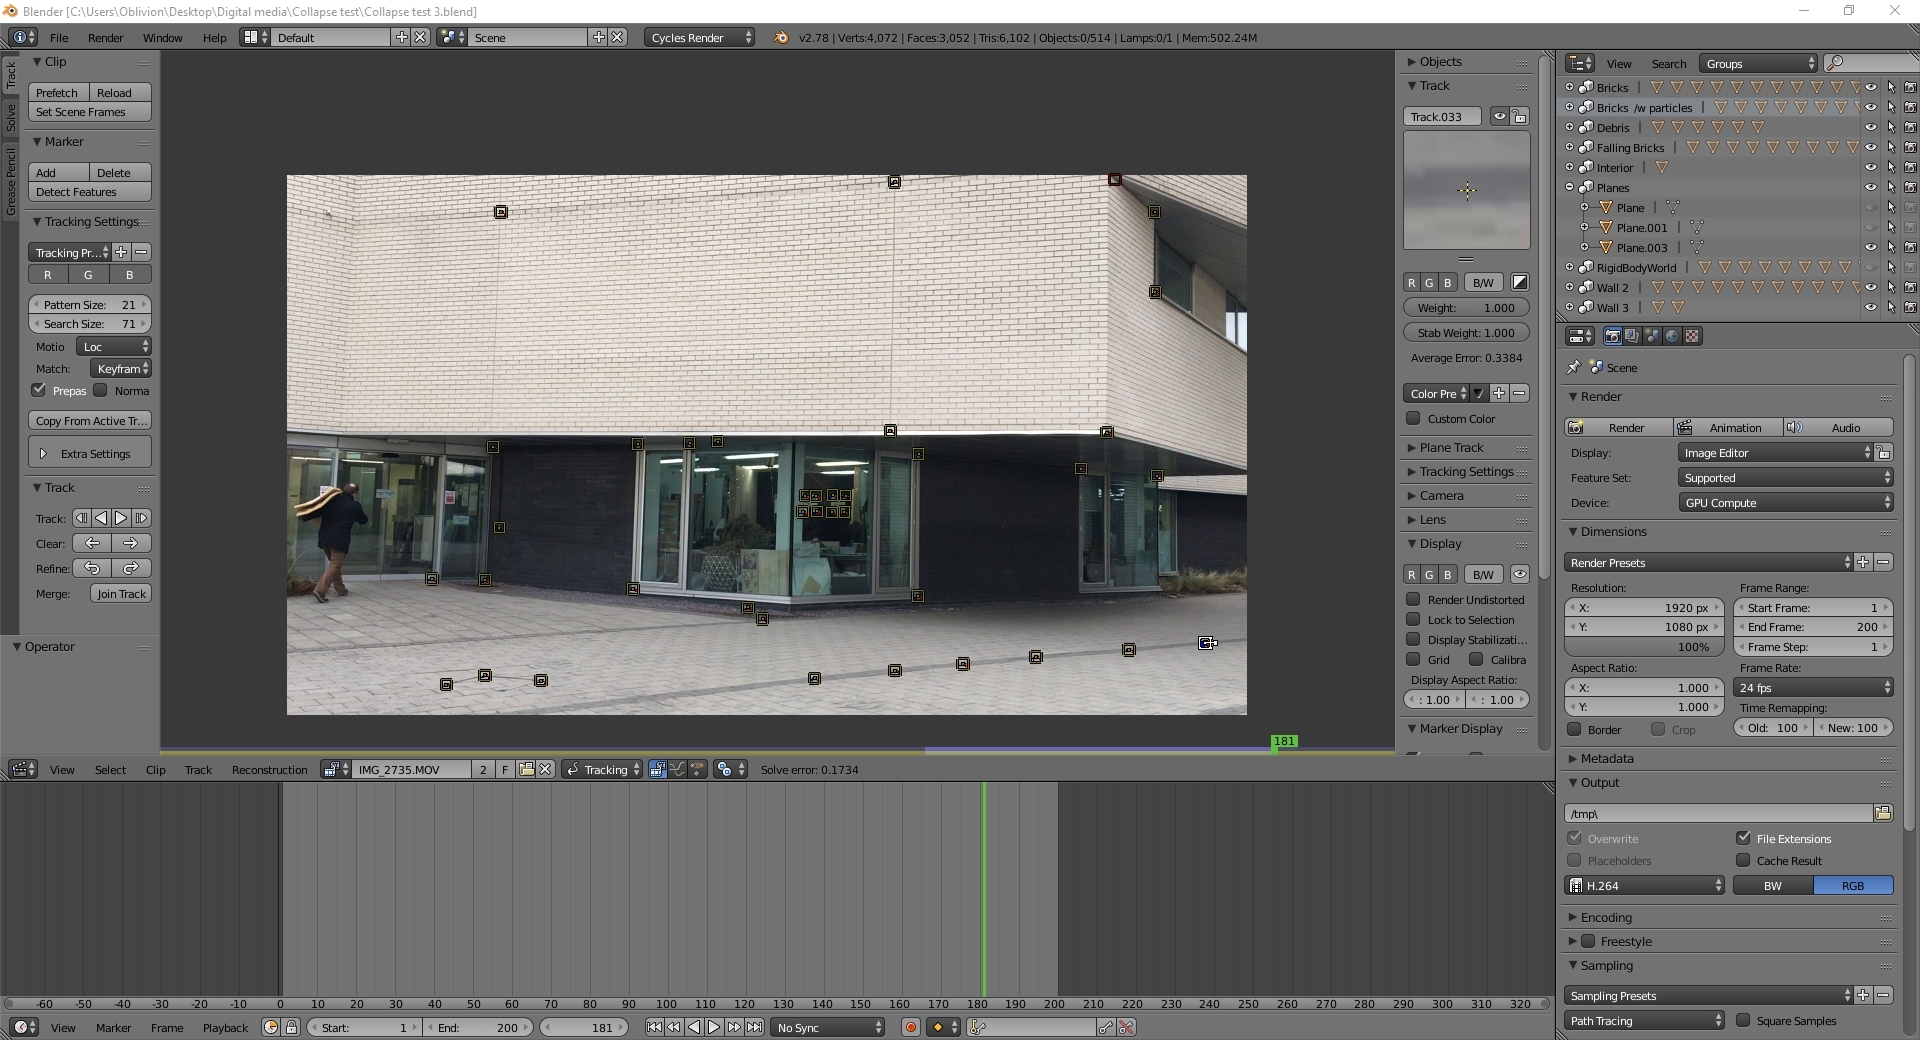
The outcome of this process is successful with a solve error value of 0.1734 which is significantly accurate.
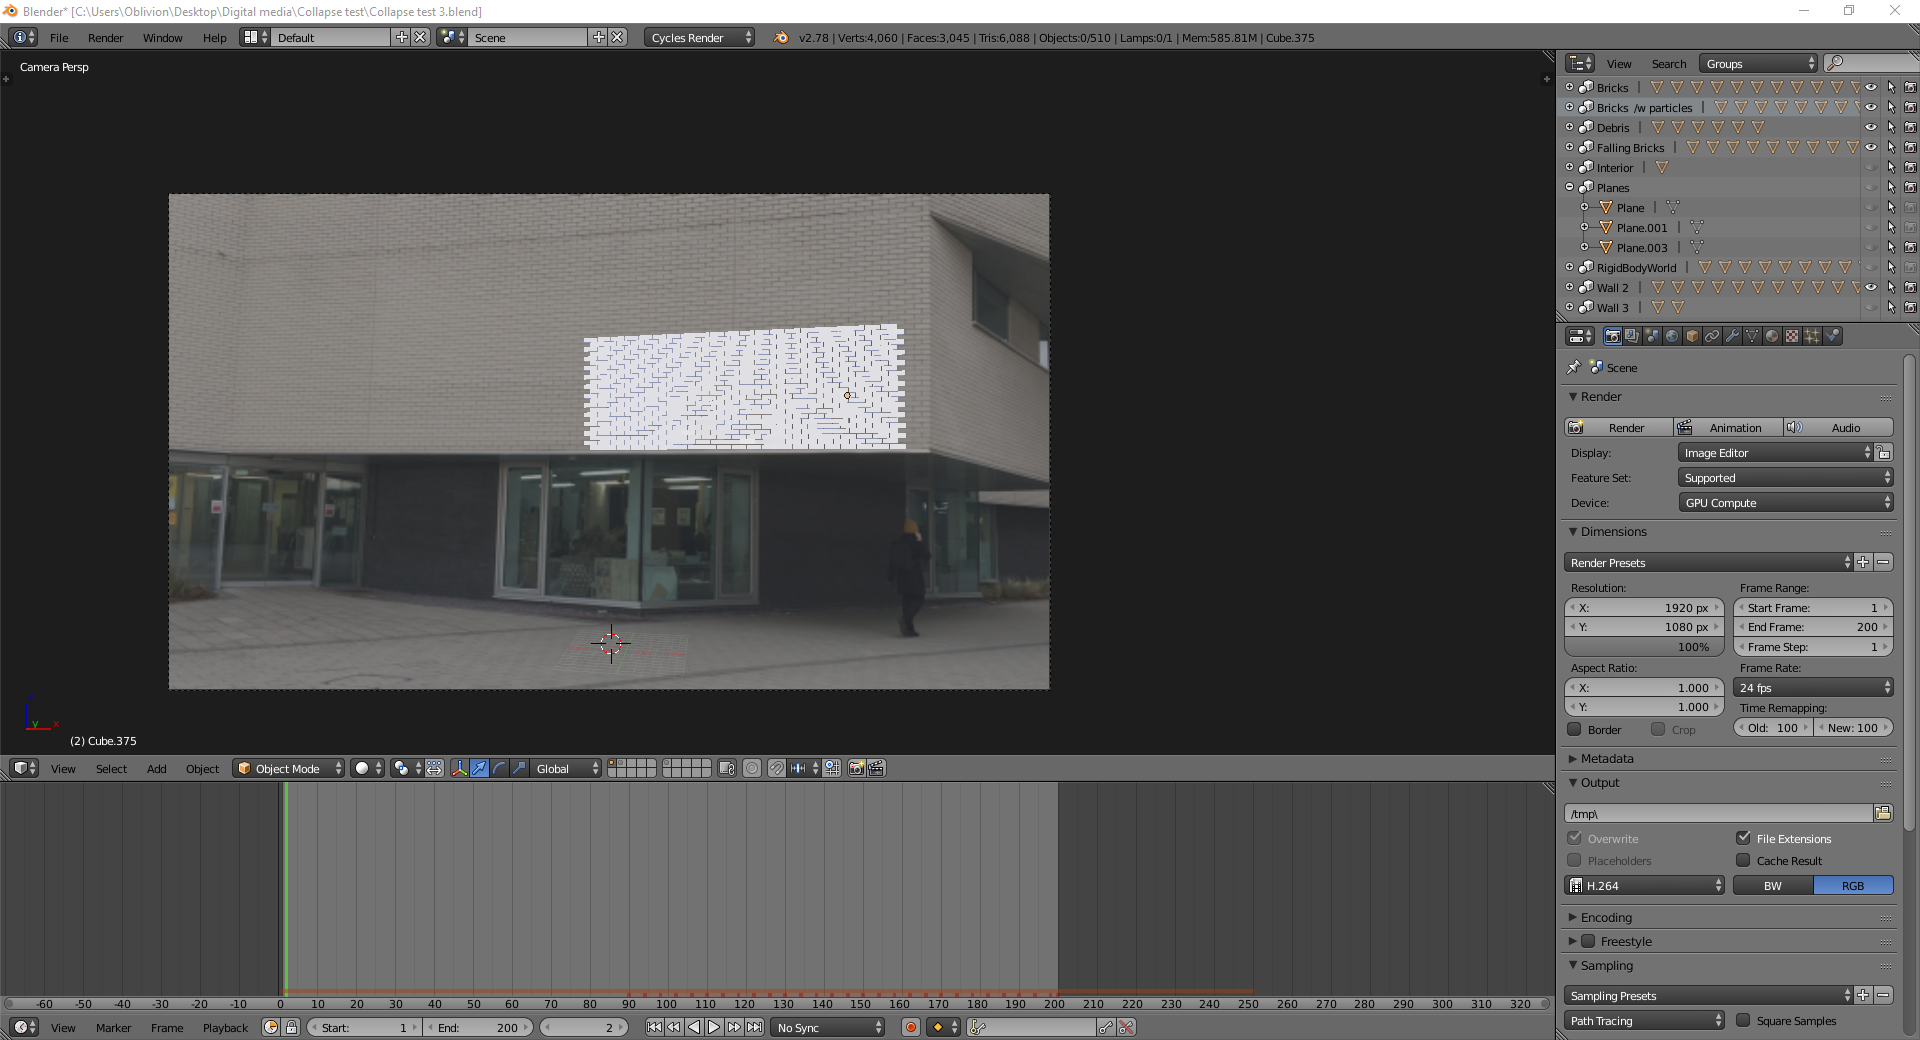
Next, I switched over to 3D view and began to lay out the part of wall I want to collapse in which case the centre of the footage.
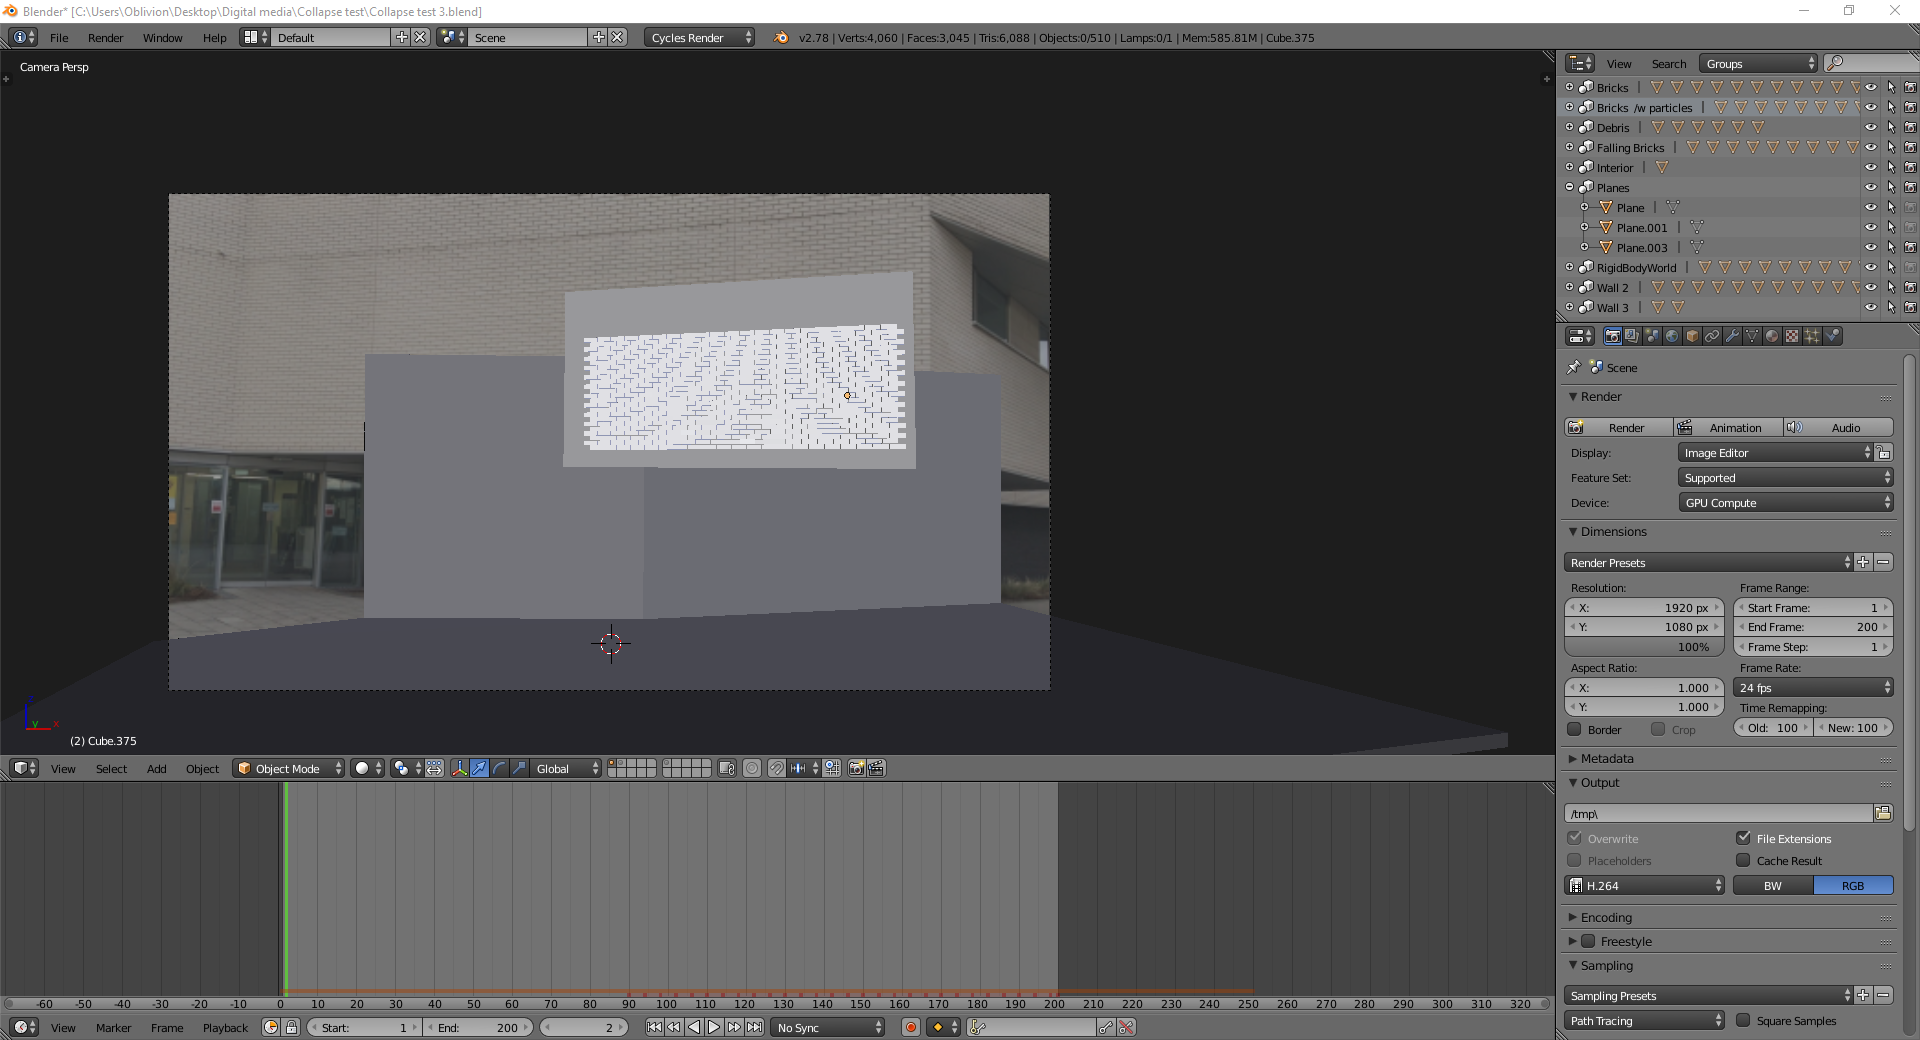
After I aligned the bricks in its respectful position using the footage as reference, I added the planes in which the brick are going to collide with such as the floor and the walls.
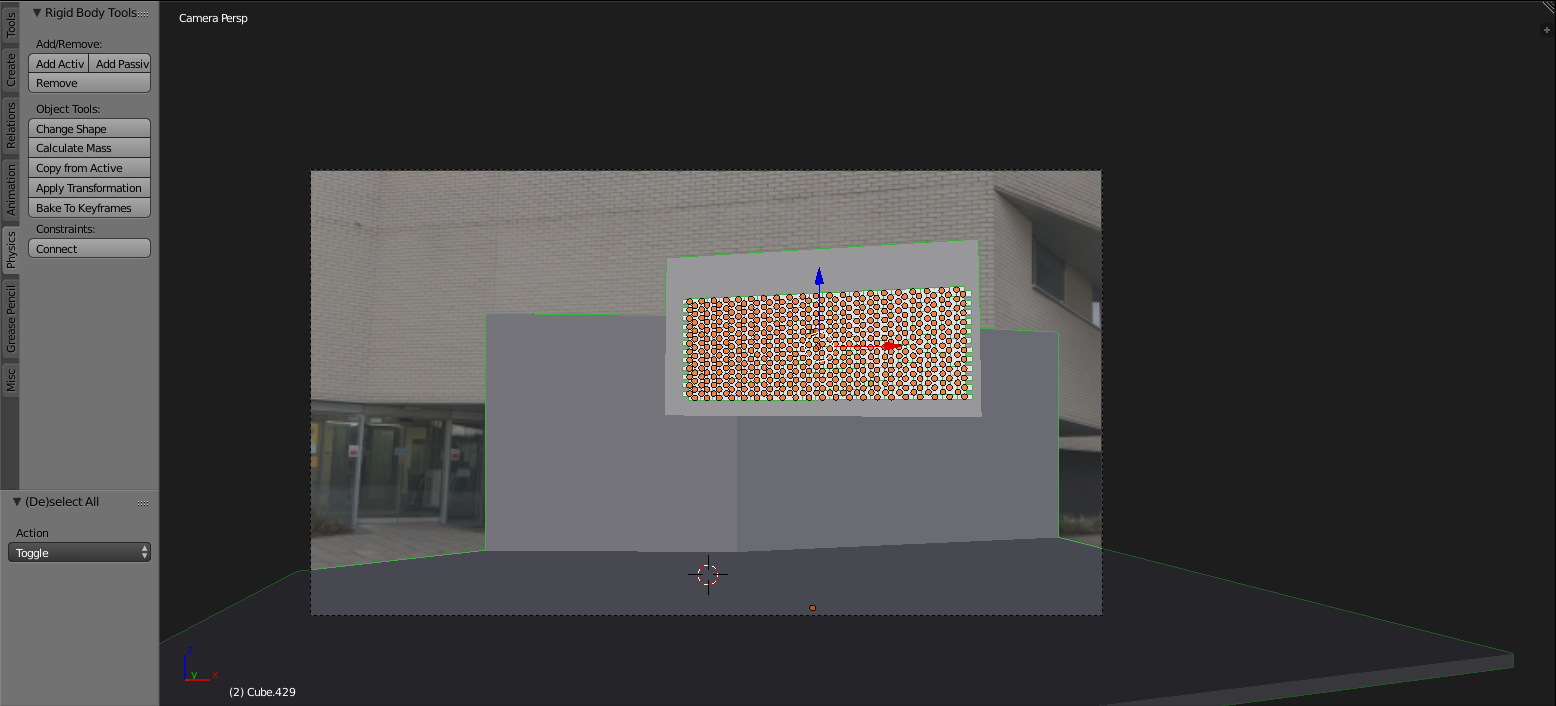
Then I applied the rigid body tool to the assets. For the planes, I applied a passive rigid body to it as it is going to act as a surface that is not affected by the gravity physics but can interact with other objects and I then applied an active rigid body to the selected bricks I want to fall and collide with the floor. The bricks that has the active rigid body applied to will be affected by the physics that are occurring within the sequence in which case I will be using the tremor force field to knock off the bricks.
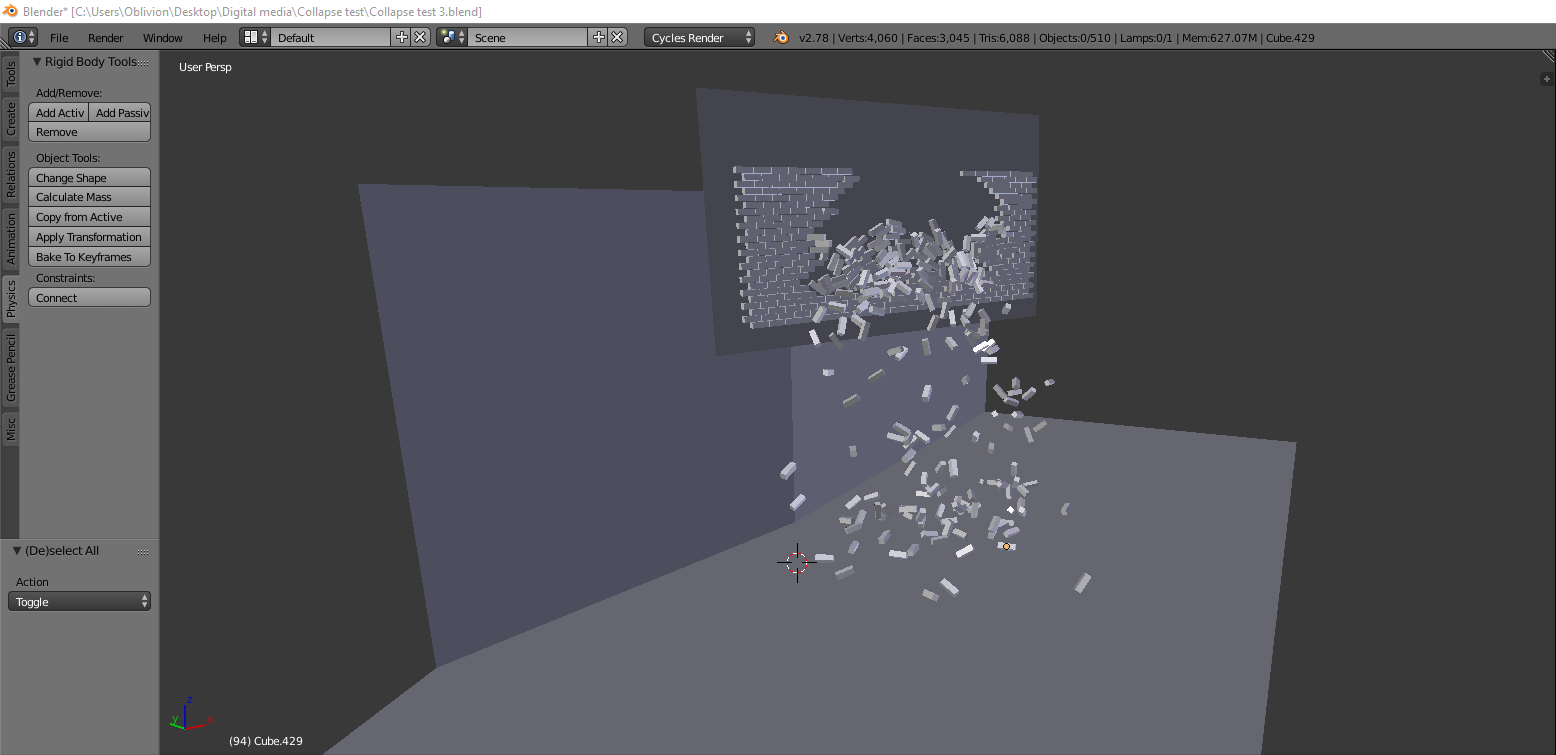
The result I got are bricks falling off the wall as expected in the most natural way possible.

Particle effect 
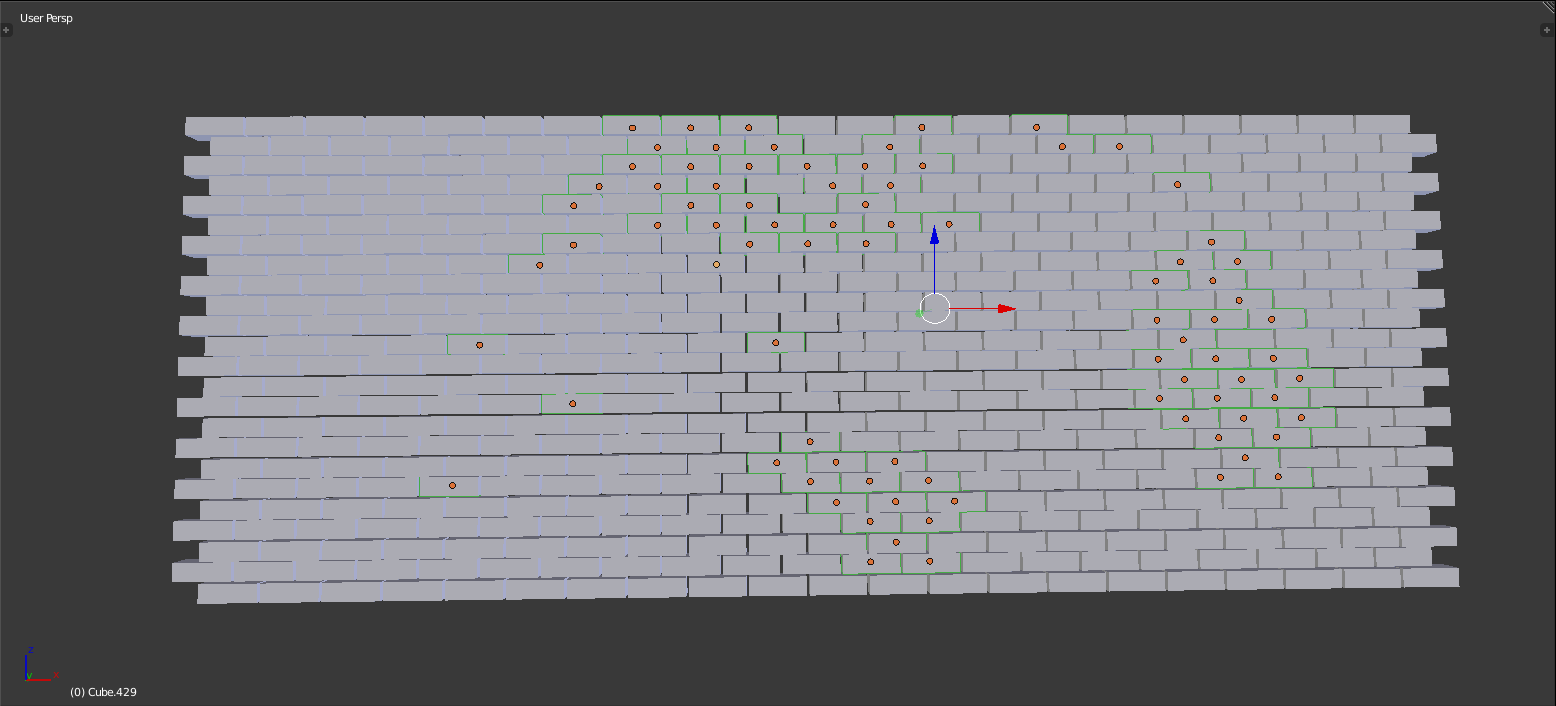
As for the smaller particles, I selected a handful of bricks that are falling and added a particle effect to it.
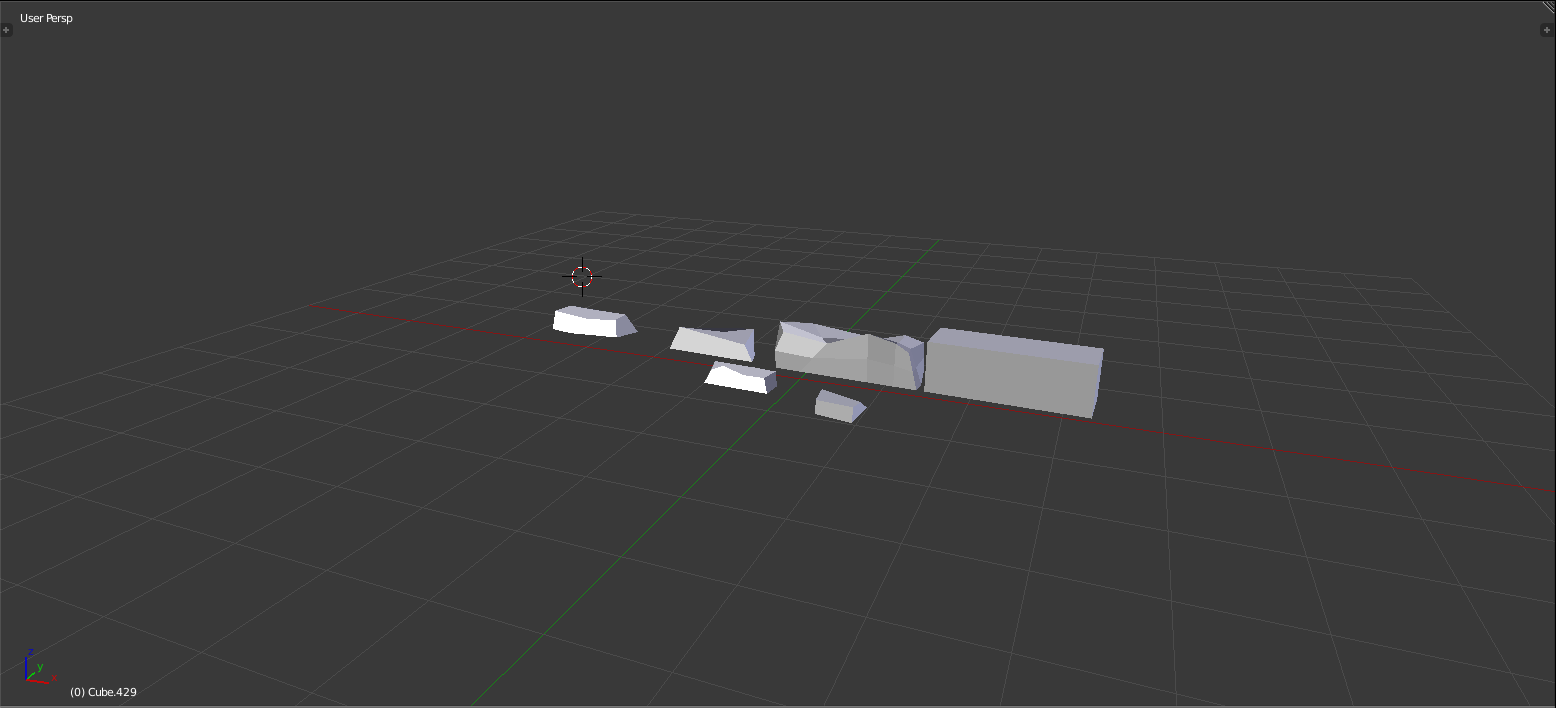
Then on another layer, I created a few smaller bricks that I want to emit in replacement of the particle effects that was applied to the selected bricks.
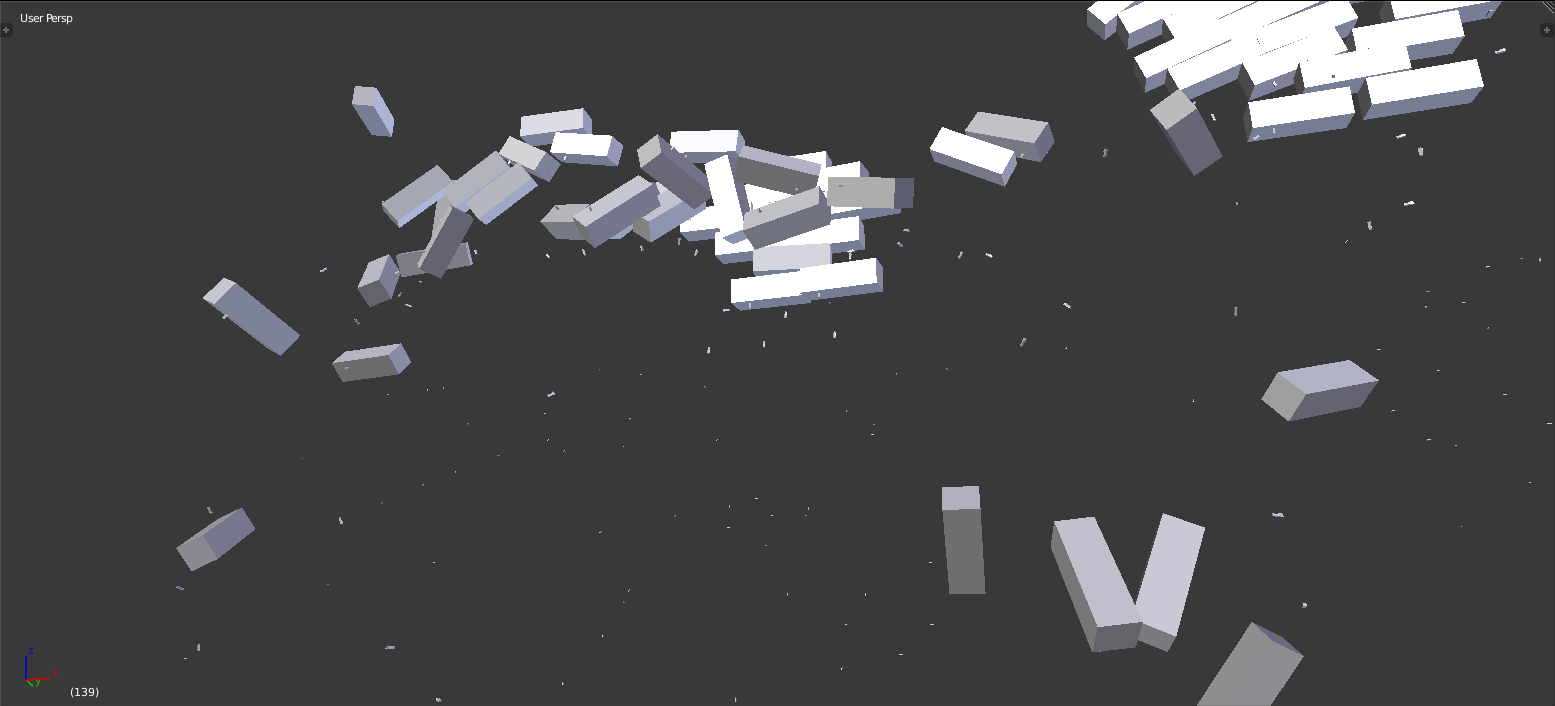
And after adjusting the settings, I resized it to a reasonable size and enabled rotation so that the smaller debris is falling at different perspectives making it look more realistic.

Dust effect
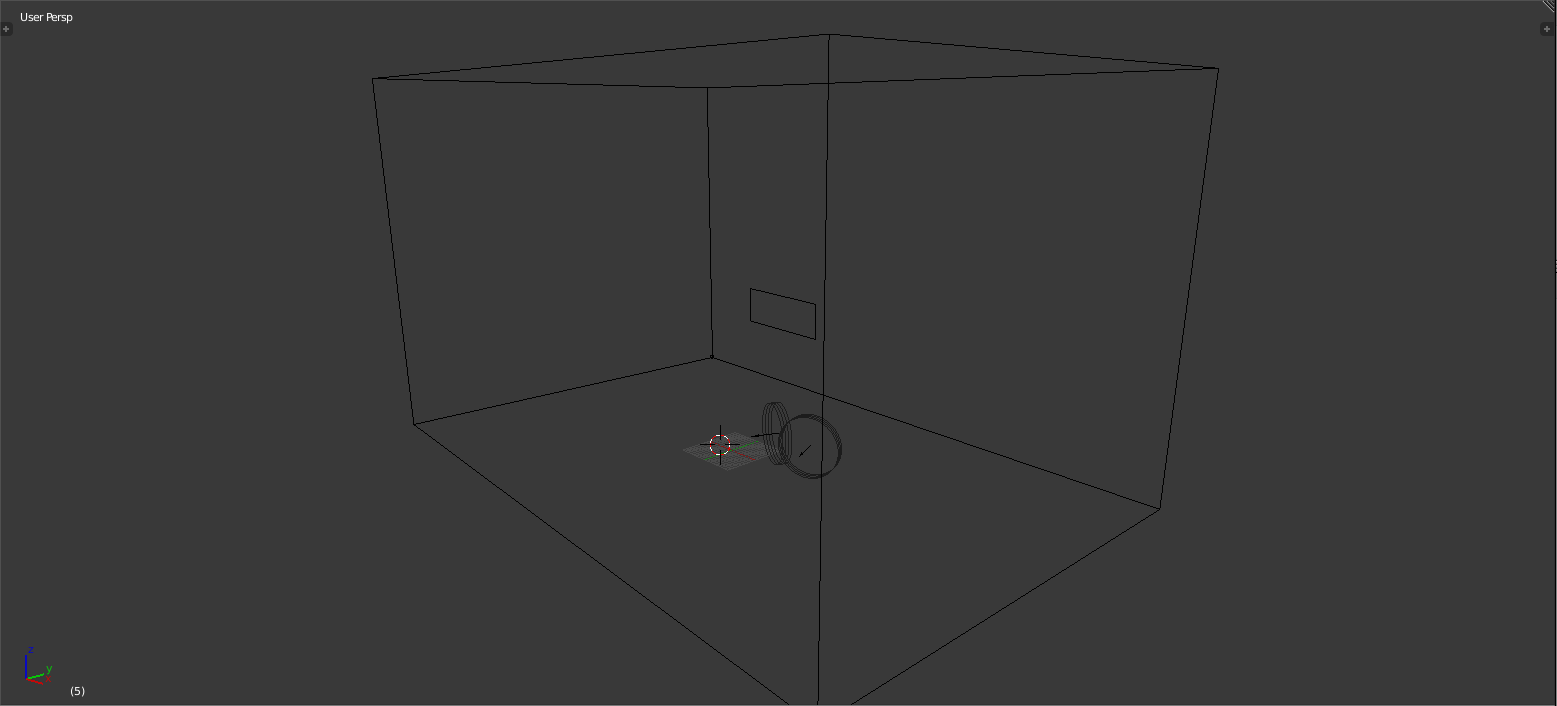
As for the dust/smoke effect, I set up the smoke domain and the plane in which I will be emitting the smoke from within it. While aligning the plane with the area the bricks will be falling from, I successfully set up the objects ready to be applied the smoke effect.
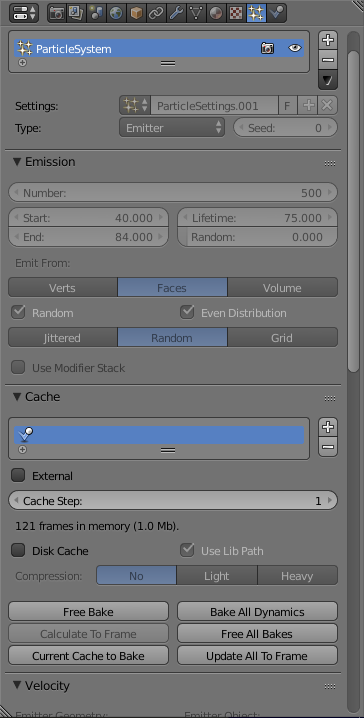
For the settings I applied to the plane that will be emitting the smoke, I had 500 particles emitting from the plane that starts and ends from frame 40 to 84 where the bricks are falling from the wall. I also made it random so that the particles are not following the same stream from one another and makes it look realistic.
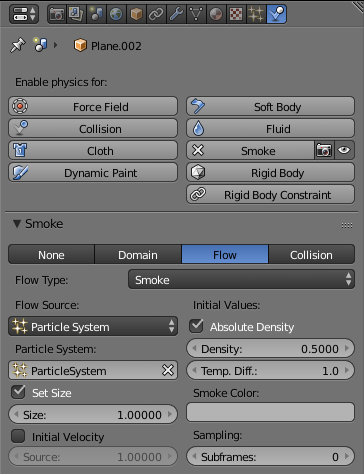
Then for the smoke itself, I replaced the particles that are emitted by the plane with smoke instead. By doing this will create the smoke effect that I initially wanted to achieve after a few tweaks to the settings to further make the scene look realistic.
Online render farms

Render farms

Render farm is when a multiple computers are connected to render different frames of a sequence to overall speed up the process and reduce the float time between renders. However, the more complicated the sequence is the longer it will require to render the sequence which is unfortunate for me as some of my scene contain particle effects such as smoke. To fully render the sequence will take up to 2 days which is a substantial amount of time making this not only inefficient but also runs the risk of not successfully rendering the sequence correctly. Therefore, I have come to realise that there has to be a way in which I can render my sequences out more quickly and efficiently which is why I’ve decided to consider sending my sequences to an online render farm at a small cost.

Pixel Plow

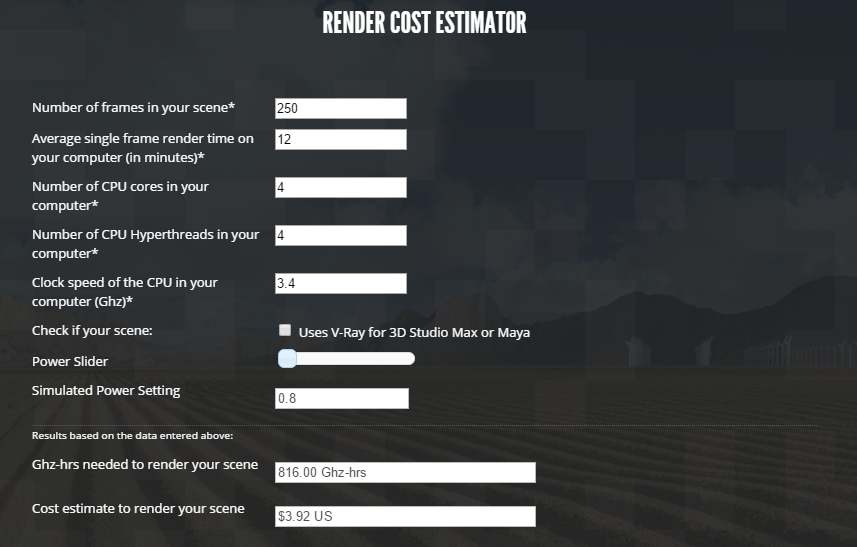
Pixel Plow is a online render farm service that has its own client where users are able to send their footage and track the process in real time. This is not only useful in terms of constantly being updated on the status of the process but it also tracks the cost of the render as it is being rendered.

After filling out the specifications of how long it takes for my computer takes to completely render a frame, Pixel Plow roughly calculated how much it will cost for them to render out my sequence. It estimator has then calculated it will cost around $3.92 which is £3.21 to render out my sequence of 250 frames making this one of the cheapest options.

RenderCore

Render core is another online render farm that offers the same service as Pixel Plow however at an additional cost with extra features. In comparison to Pixel Plow, Render core is extremely fast when it comes to rendering out complex sequences that has a vast amount of particle effects making this one of the powerful render farms avaliable.

After filling out the estimator, it calculated 13 minutes to render out my 250 famed sequence at the cost of $72 which is observably expensive with the quality of work that I’m producing since my sequences are currently just test footage. Therefore, I will not be using this company to render out my sequences just for this reason.

FoxRender Farm

FoxRender farm is another competitor within the industry that also offers a slightly cheaper price tag to render my sequence.

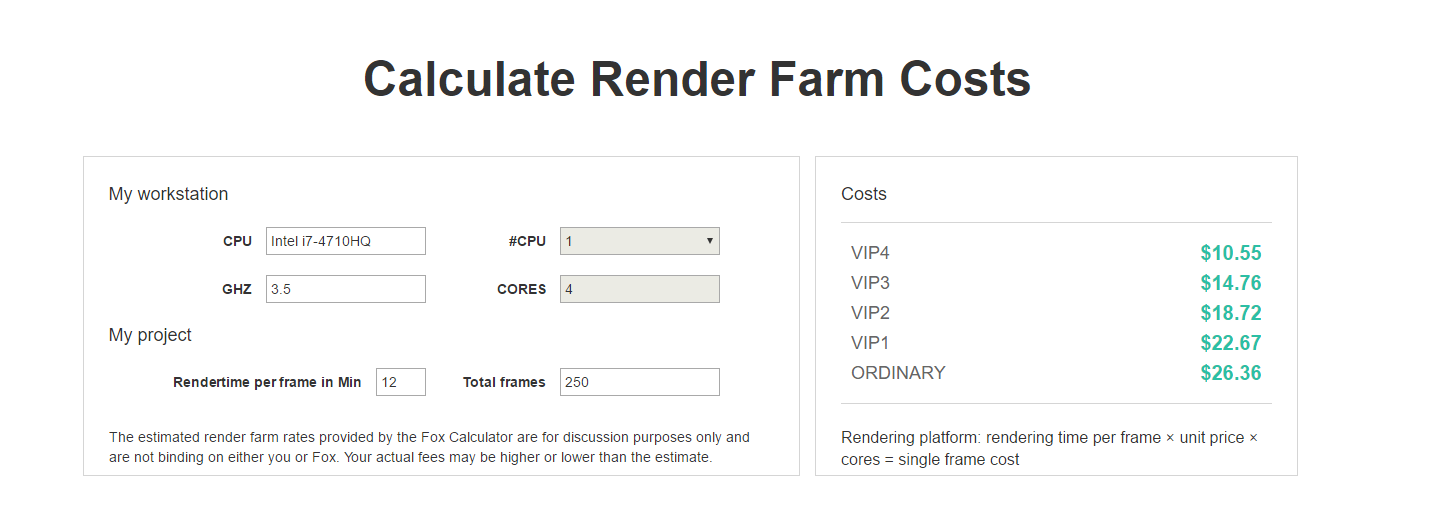
After filling out the calculator, the render cost added up to $26.36 which is £21.62. It may not has cheap as Pixel Plow but it is considerably cheaper than RenderCore. The quality however will not change as much compared to Pixel Plow which makes Pixel Plow the ideal choice to use when it comes to rendering out my animation.

Overall, out of all of the 3 options, Pixel Plow is deemed to be the most cost efficient render farm compared to the rest. It is all flexible in terms of tracking how much it costs to render a sequence and it is easy to import projects into the client. So therefore, I will be using Pixel Plow to render all my complicated sequences that involves particle effects to maximise efficiency and reduce time to render.