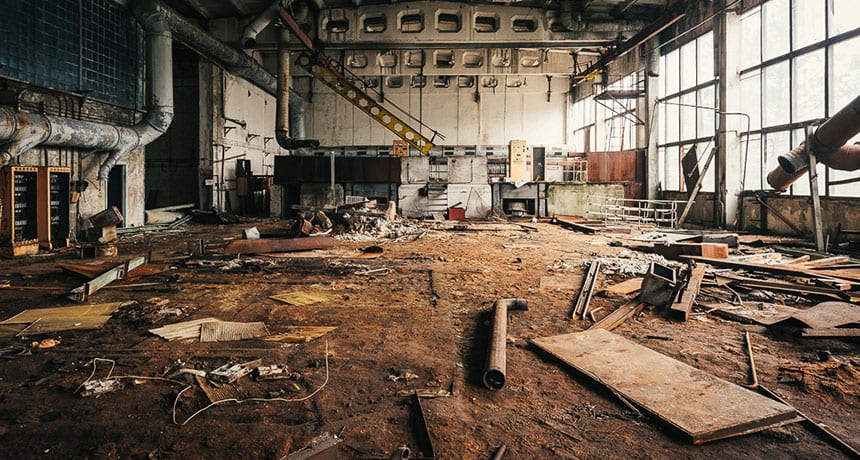
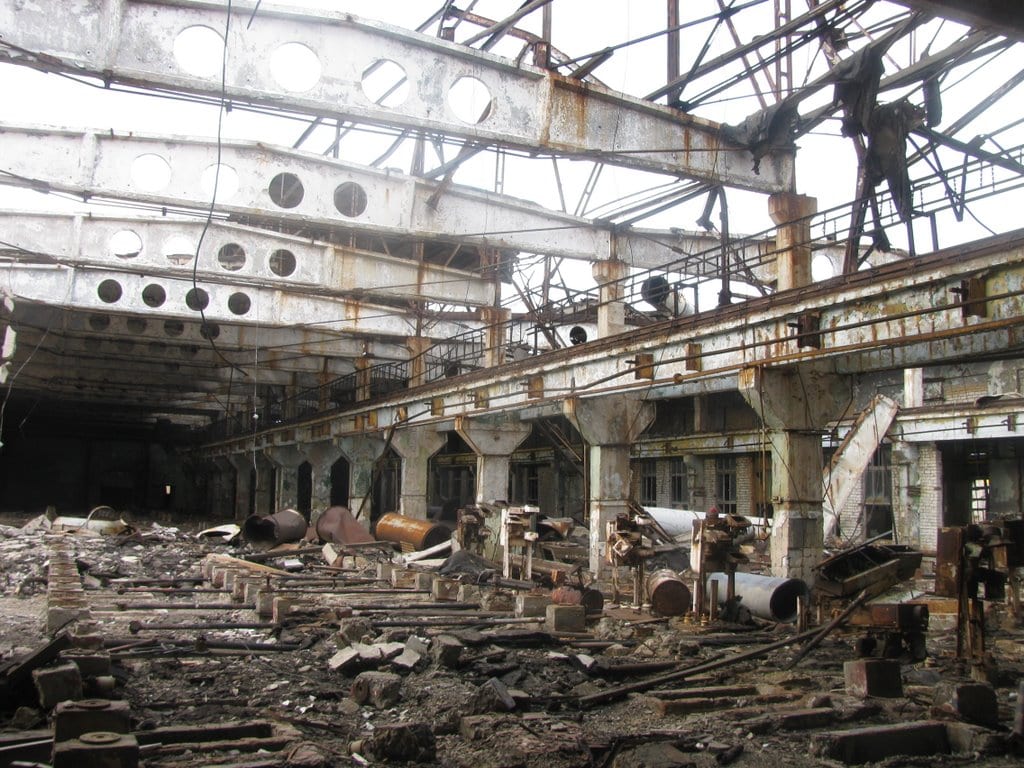
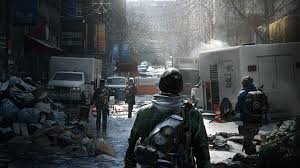
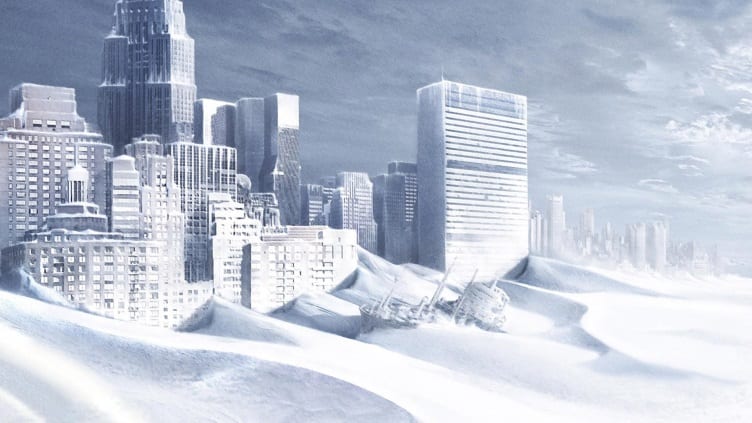
Collapse test

Collapse test

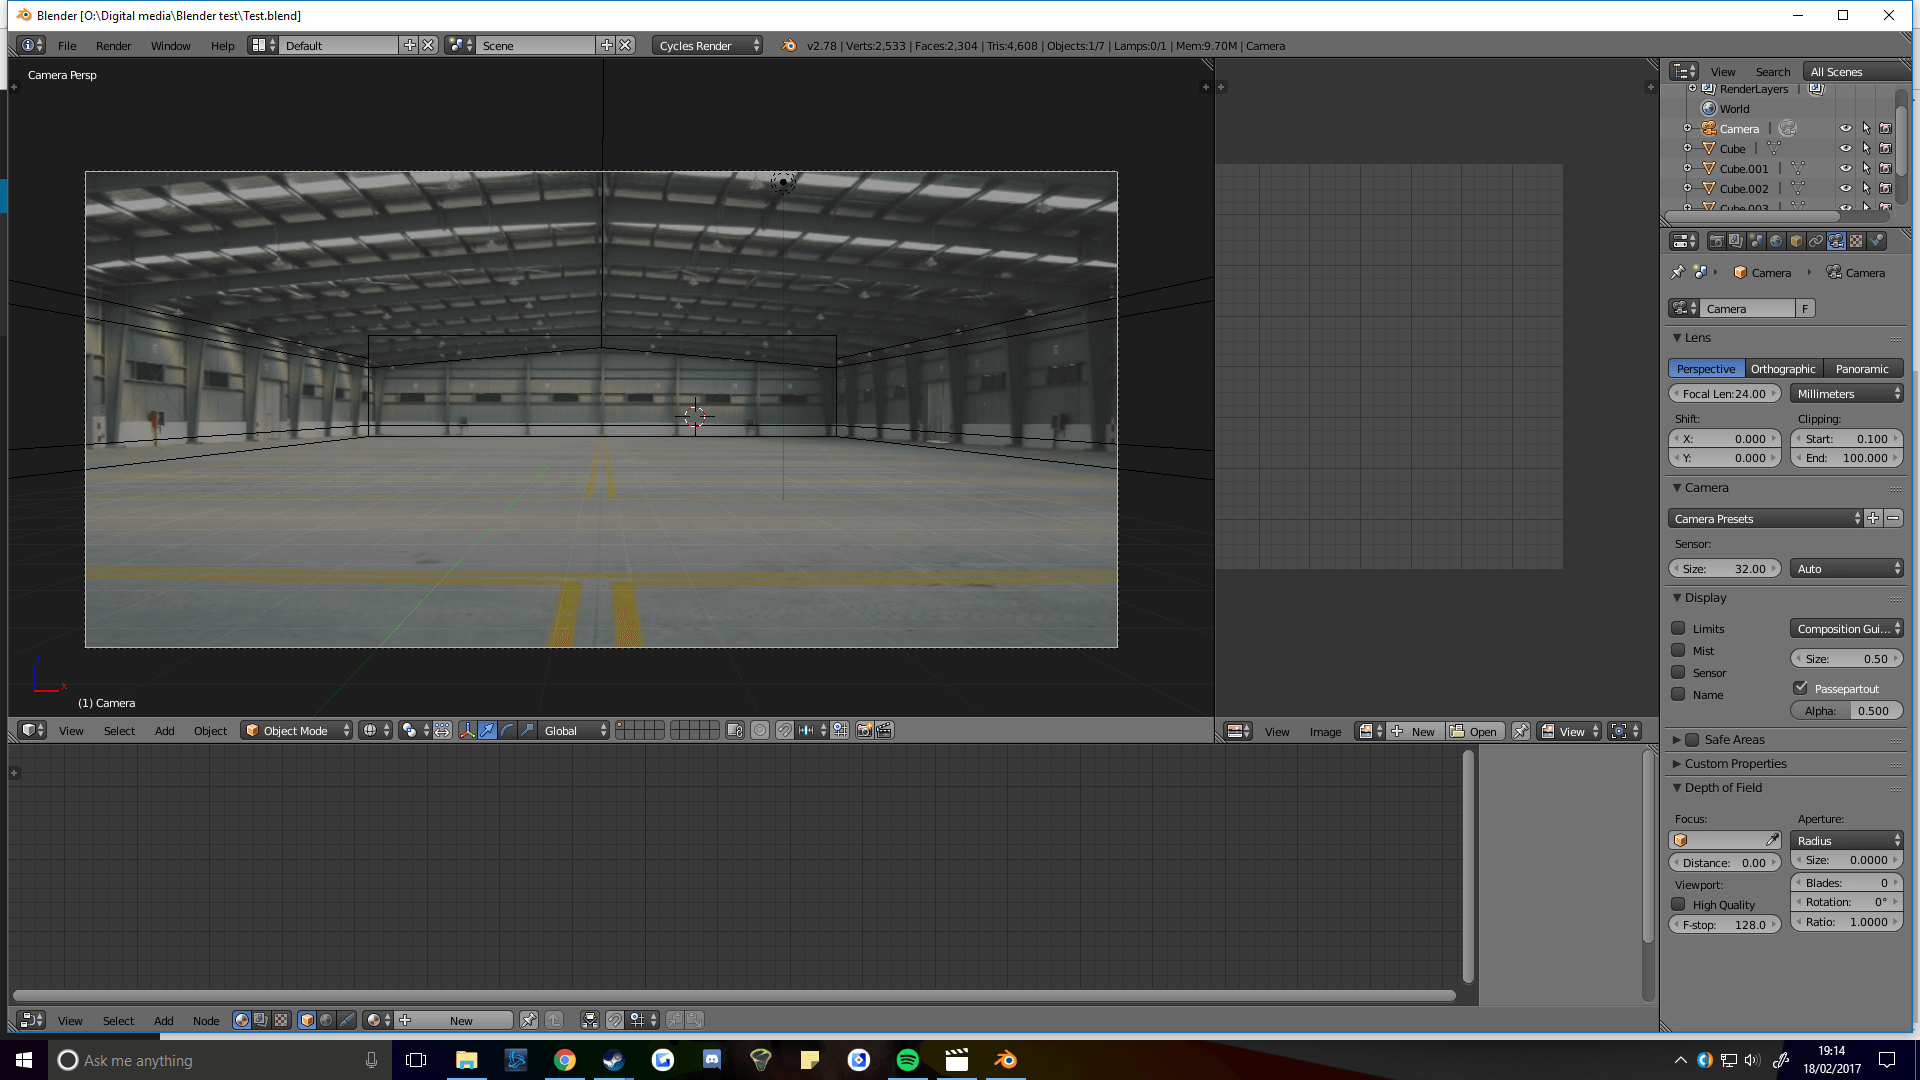
To start off, I recorded footage of a wall within the University of Lincoln and imported it to Blender. From there, I 3D tracked the footage so that I am able to add 3D models into the sequence.

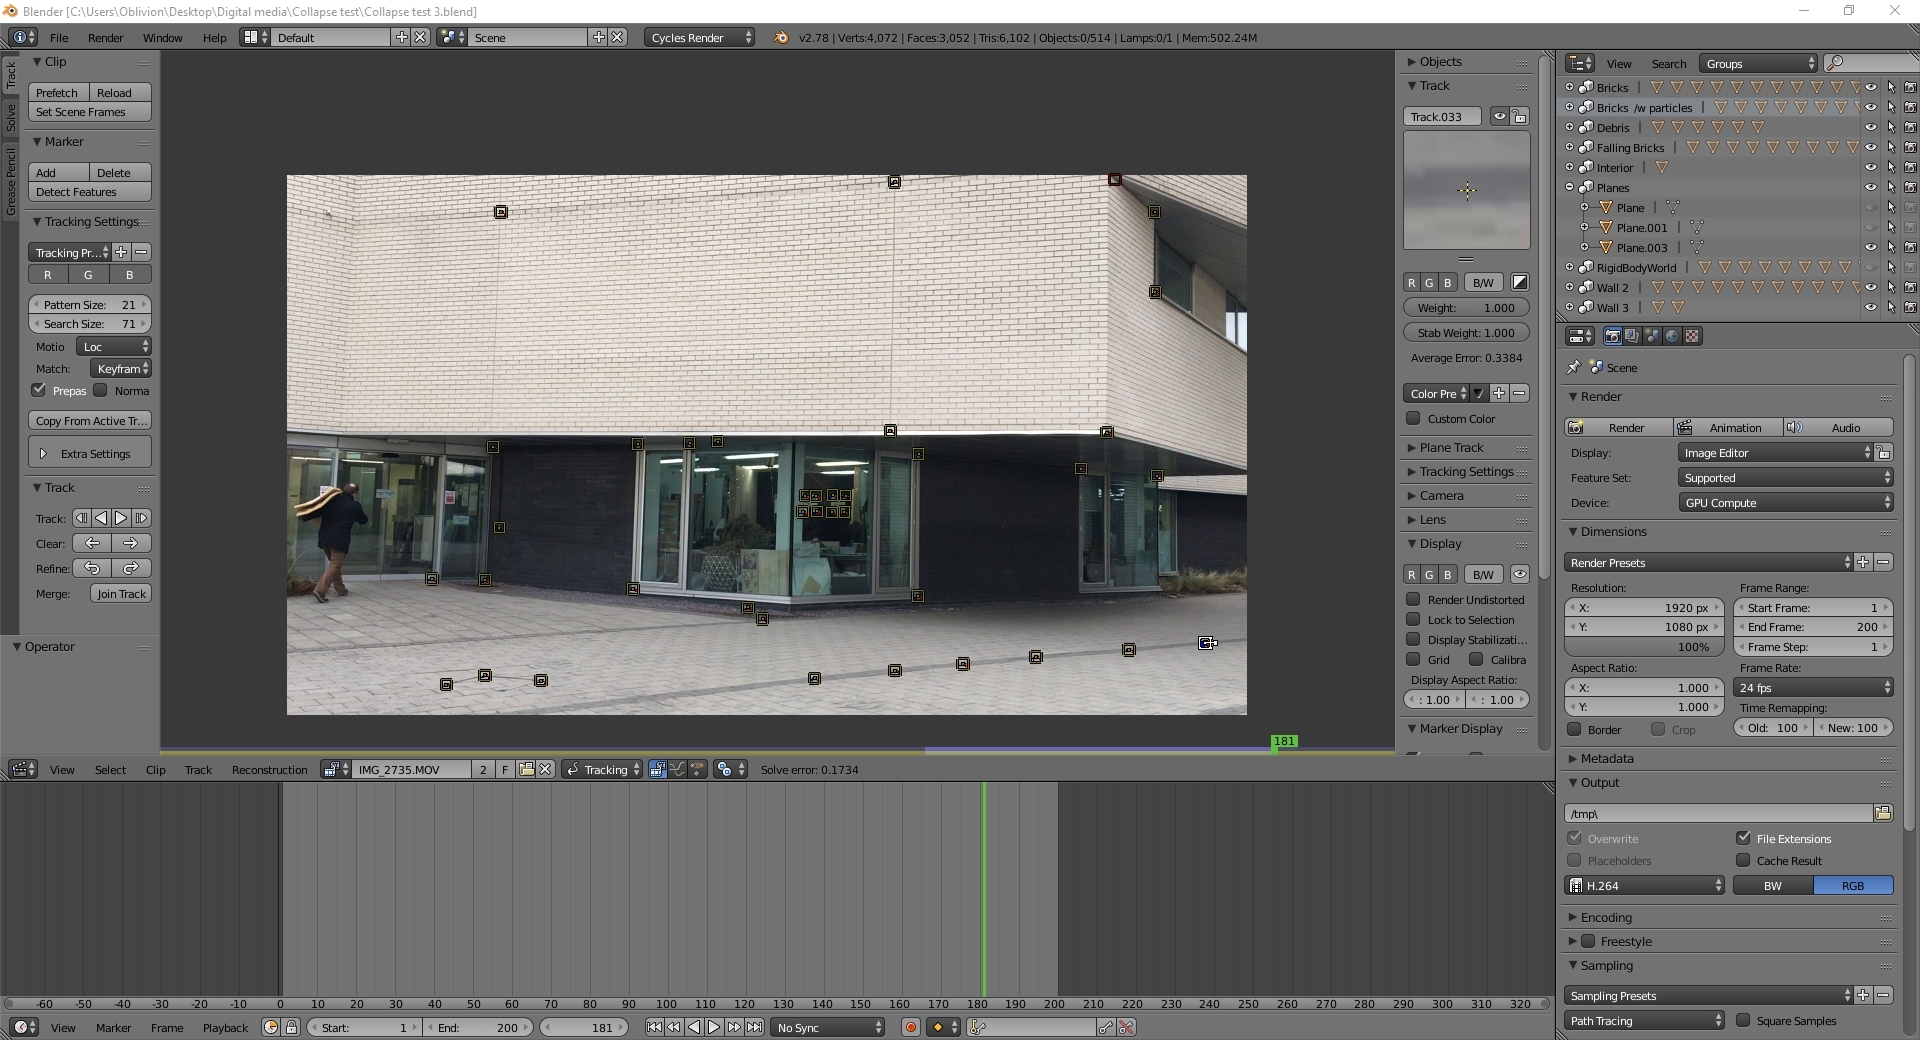
The outcome of this process is successful with a solve error value of 0.1734 which is significantly accurate.

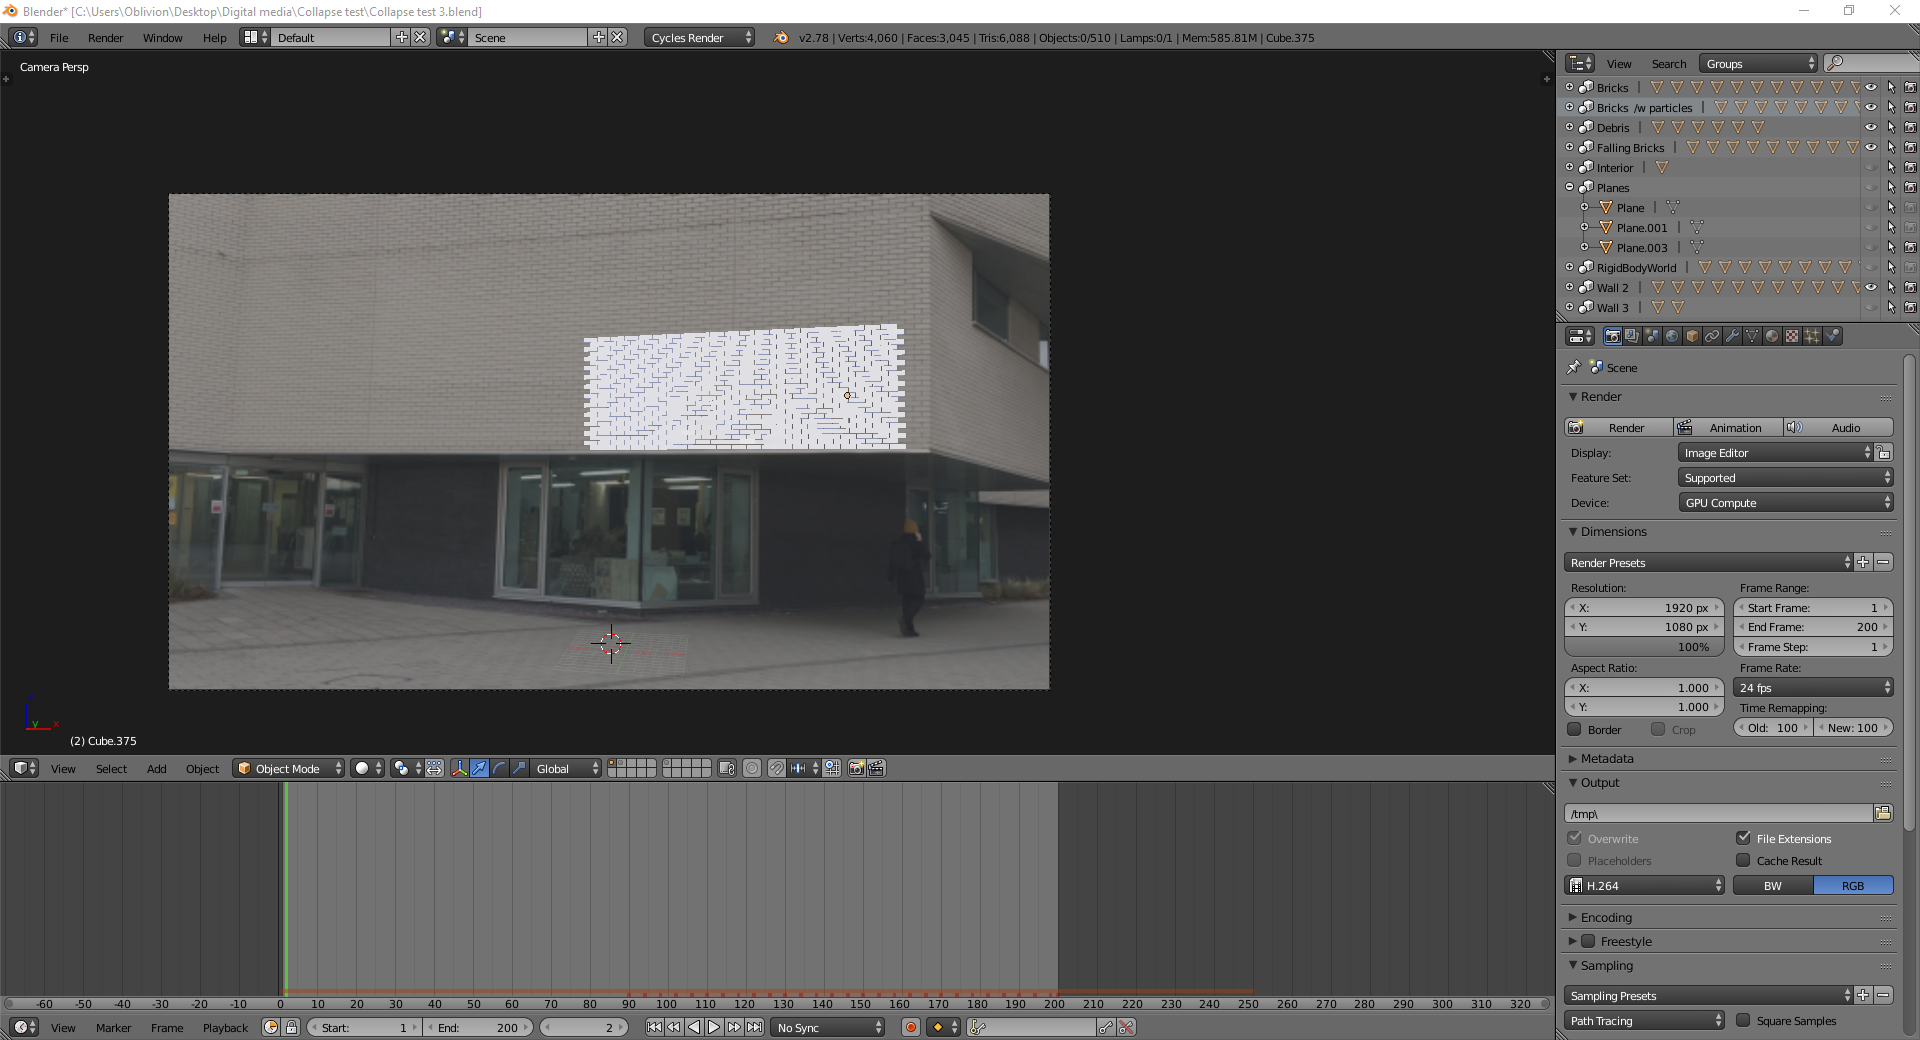
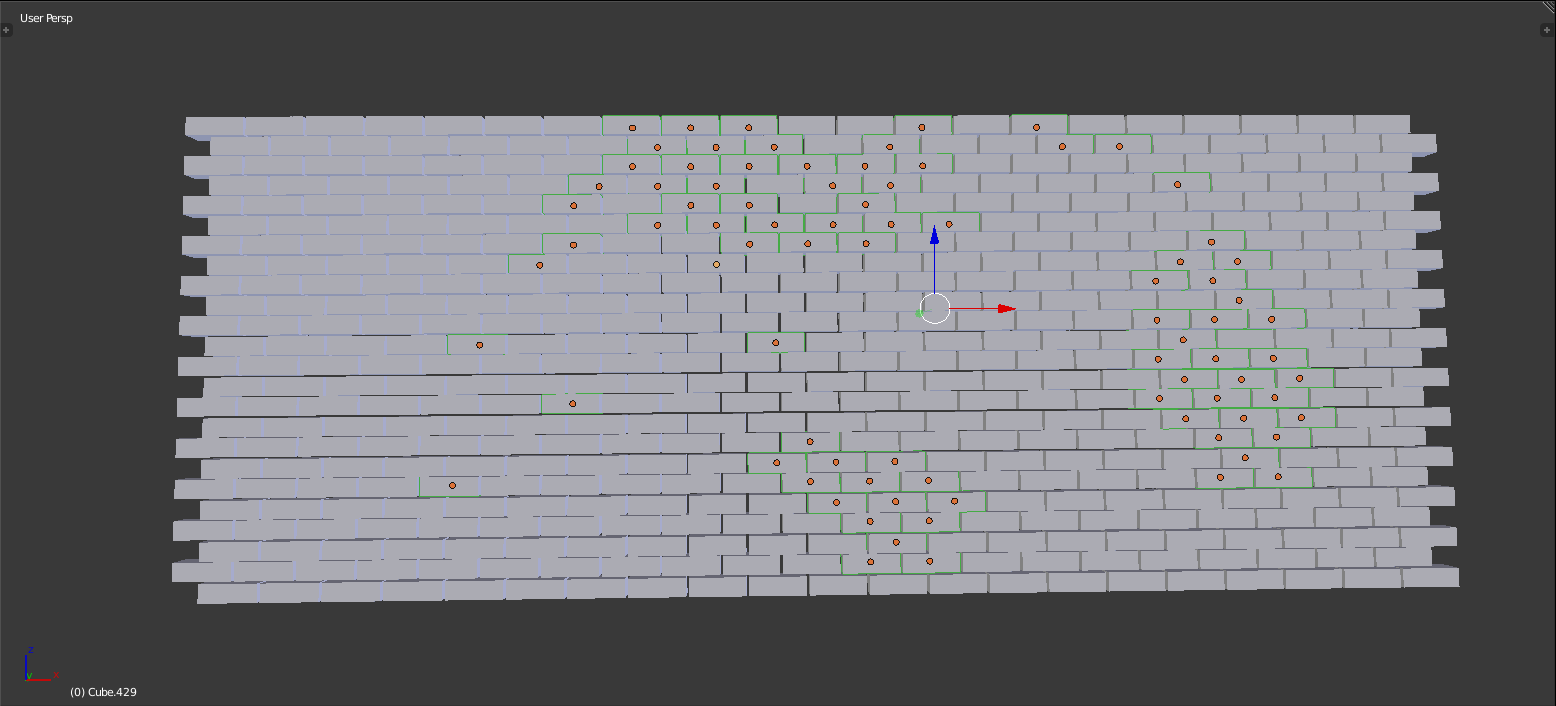
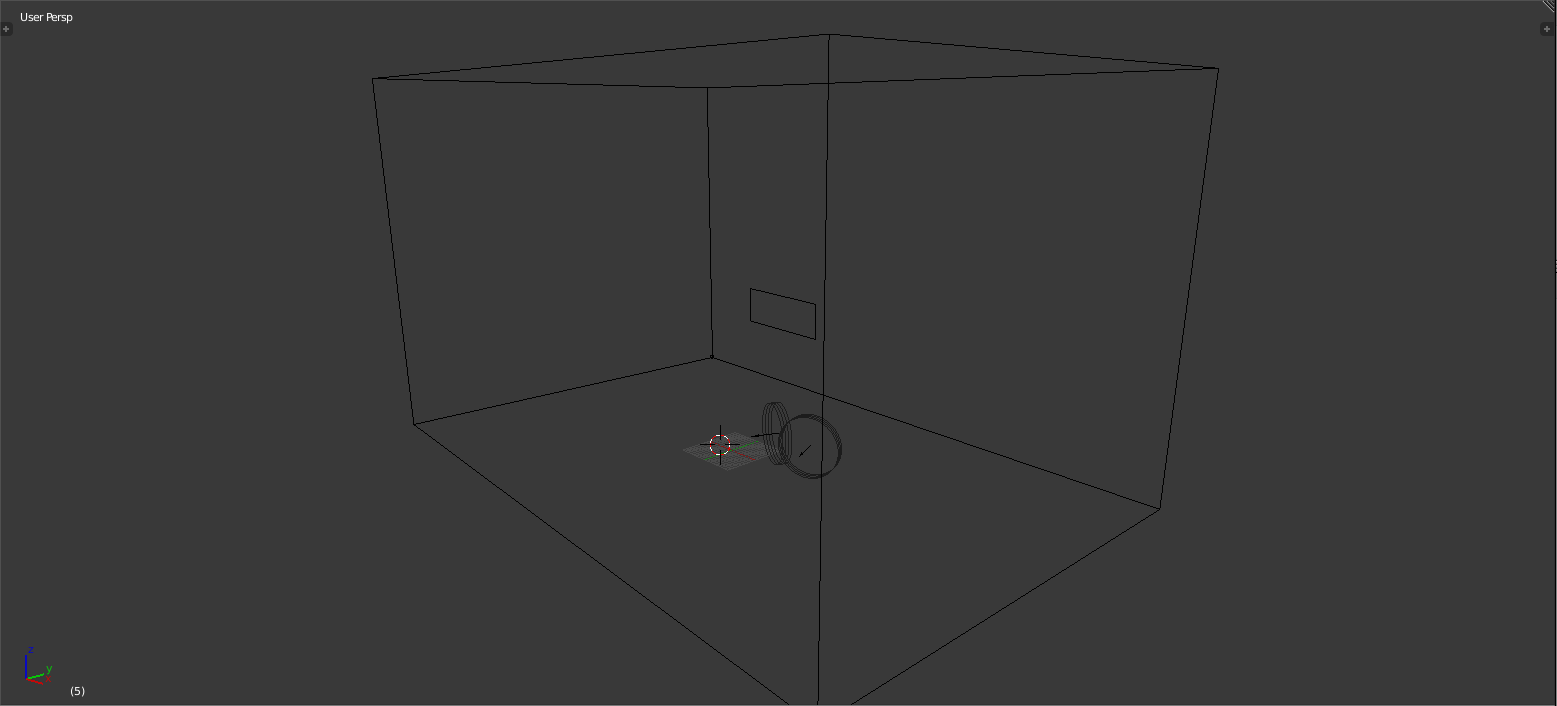
Next, I switched over to 3D view and began to lay out the part of wall I want to collapse in which case the centre of the footage.

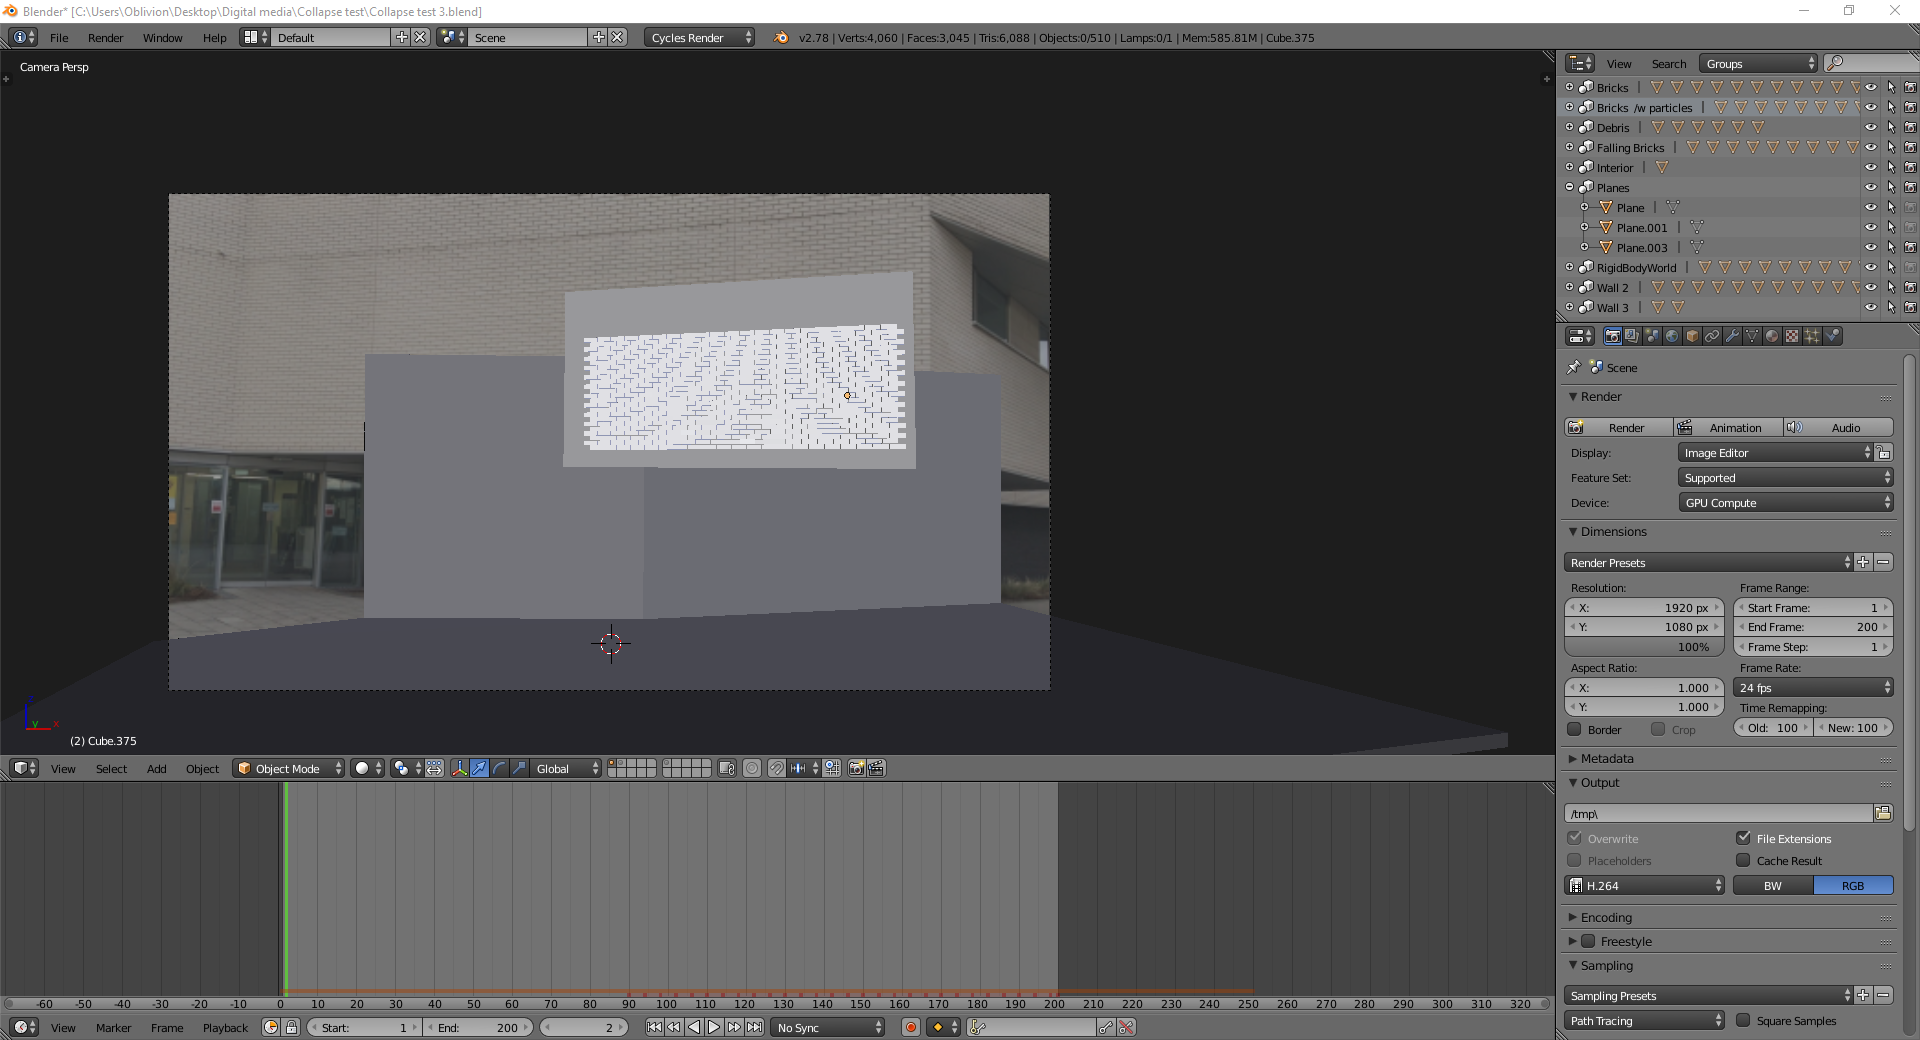
After I aligned the bricks in its respectful position using the footage as reference, I added the planes in which the brick are going to collide with such as the floor and the walls.

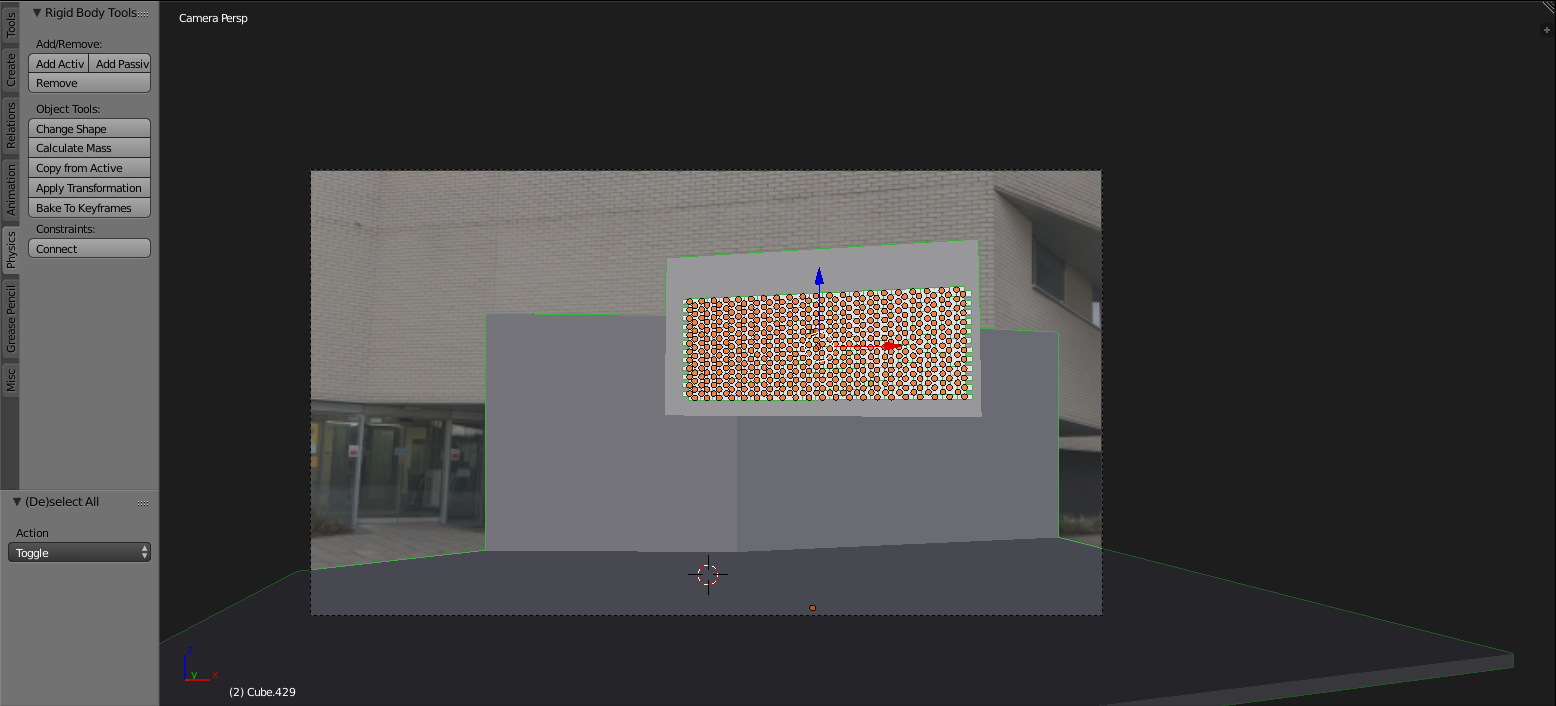
Then I applied the rigid body tool to the assets. For the planes, I applied a passive rigid body to it as it is going to act as a surface that is not affected by the gravity physics but can interact with other objects and I then applied an active rigid body to the selected bricks I want to fall and collide with the floor. The bricks that has the active rigid body applied to will be affected by the physics that are occurring within the sequence in which case I will be using the tremor force field to knock off the bricks.

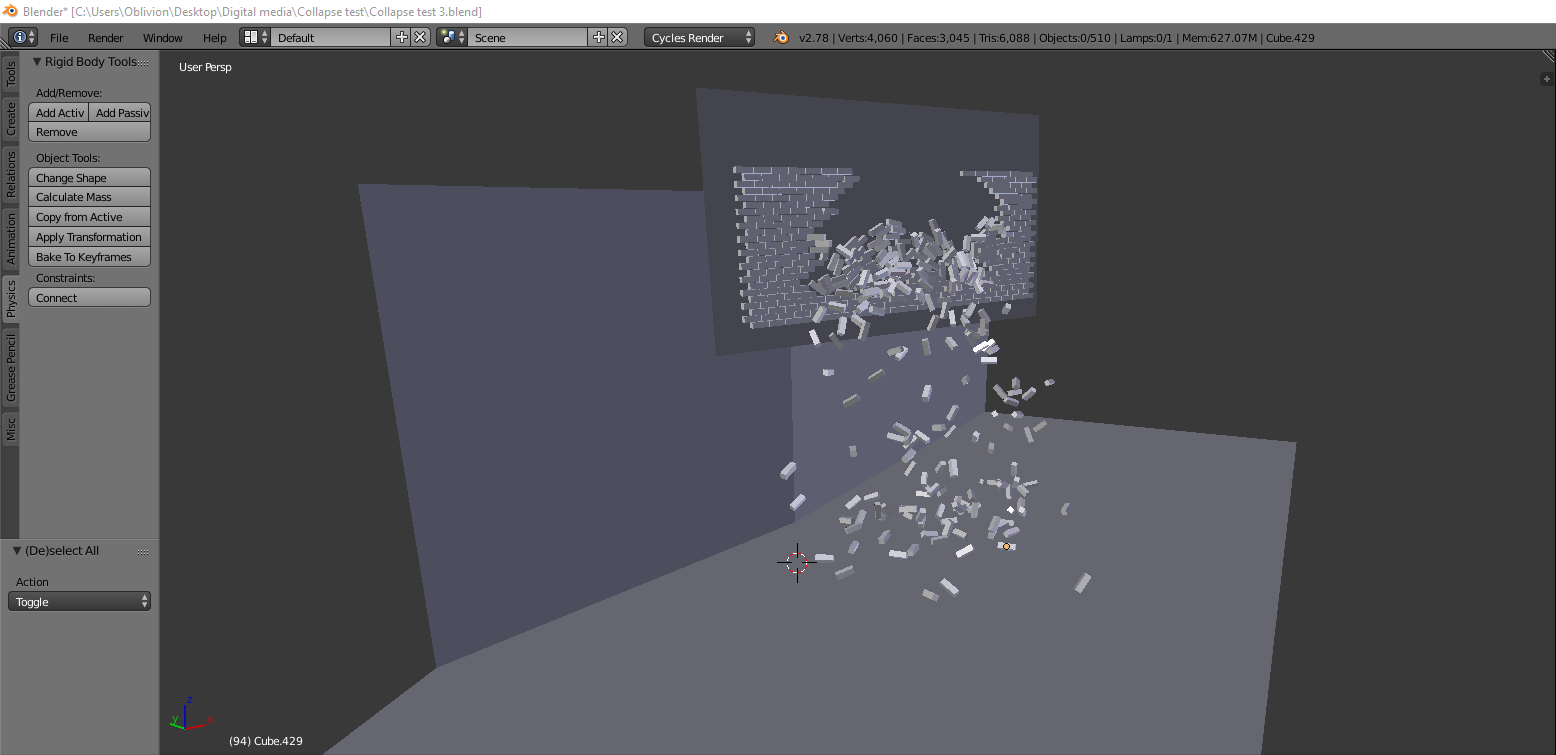
The result I got are bricks falling off the wall as expected in the most natural way possible.

Particle effect 

As for the smaller particles, I selected a handful of bricks that are falling and added a particle effect to it.

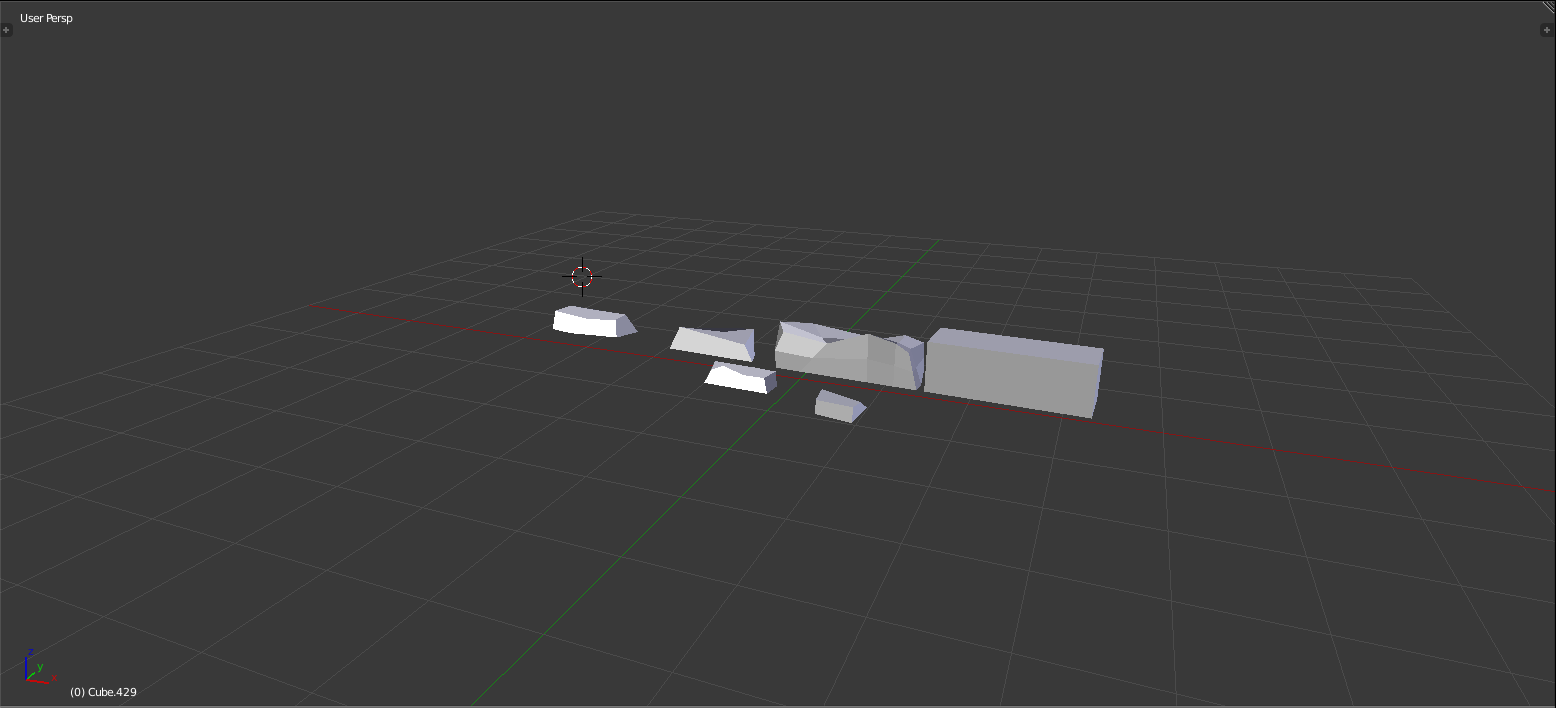
Then on another layer, I created a few smaller bricks that I want to emit in replacement of the particle effects that was applied to the selected bricks.

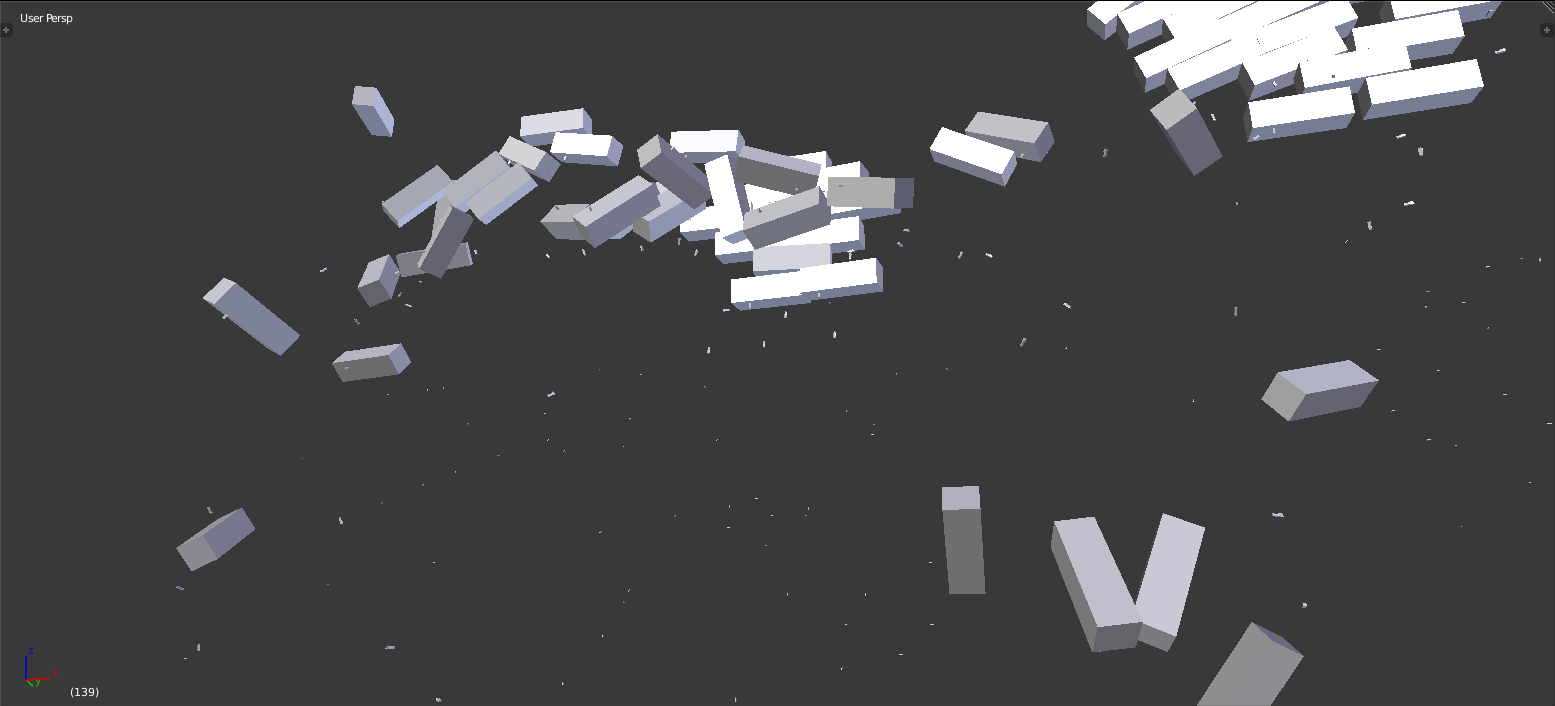
And after adjusting the settings, I resized it to a reasonable size and enabled rotation so that the smaller debris is falling at different perspectives making it look more realistic.

Dust effect

As for the dust/smoke effect, I set up the smoke domain and the plane in which I will be emitting the smoke from within it. While aligning the plane with the area the bricks will be falling from, I successfully set up the objects ready to be applied the smoke effect.

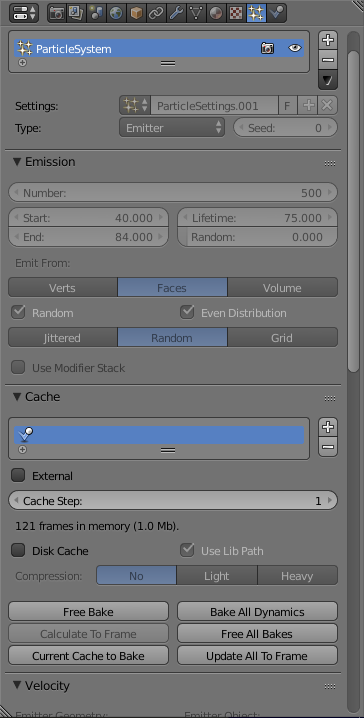
For the settings I applied to the plane that will be emitting the smoke, I had 500 particles emitting from the plane that starts and ends from frame 40 to 84 where the bricks are falling from the wall. I also made it random so that the particles are not following the same stream from one another and makes it look realistic.

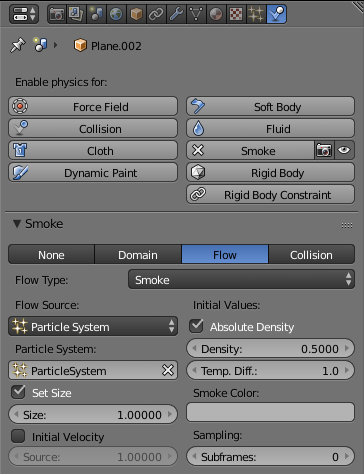
Then for the smoke itself, I replaced the particles that are emitted by the plane with smoke instead. By doing this will create the smoke effect that I initially wanted to achieve after a few tweaks to the settings to further make the scene look realistic.

Online render farms

Render farms

Render farm is when a multiple computers are connected to render different frames of a sequence to overall speed up the process and reduce the float time between renders. However, the more complicated the sequence is the longer it will require to render the sequence which is unfortunate for me as some of my scene contain particle effects such as smoke. To fully render the sequence will take up to 2 days which is a substantial amount of time making this not only inefficient but also runs the risk of not successfully rendering the sequence correctly. Therefore, I have come to realise that there has to be a way in which I can render my sequences out more quickly and efficiently which is why I’ve decided to consider sending my sequences to an online render farm at a small cost.

Pixel Plow

Pixel Plow is a online render farm service that has its own client where users are able to send their footage and track the process in real time. This is not only useful in terms of constantly being updated on the status of the process but it also tracks the cost of the render as it is being rendered.

After filling out the specifications of how long it takes for my computer takes to completely render a frame, Pixel Plow roughly calculated how much it will cost for them to render out my sequence. It estimator has then calculated it will cost around $3.92 which is £3.21 to render out my sequence of 250 frames making this one of the cheapest options.

RenderCore

Render core is another online render farm that offers the same service as Pixel Plow however at an additional cost with extra features. In comparison to Pixel Plow, Render core is extremely fast when it comes to rendering out complex sequences that has a vast amount of particle effects making this one of the powerful render farms avaliable.

After filling out the estimator, it calculated 13 minutes to render out my 250 famed sequence at the cost of $72 which is observably expensive with the quality of work that I’m producing since my sequences are currently just test footage. Therefore, I will not be using this company to render out my sequences just for this reason.

FoxRender Farm

FoxRender farm is another competitor within the industry that also offers a slightly cheaper price tag to render my sequence.

After filling out the calculator, the render cost added up to $26.36 which is £21.62. It may not has cheap as Pixel Plow but it is considerably cheaper than RenderCore. The quality however will not change as much compared to Pixel Plow which makes Pixel Plow the ideal choice to use when it comes to rendering out my animation.

Overall, out of all of the 3 options, Pixel Plow is deemed to be the most cost efficient render farm compared to the rest. It is all flexible in terms of tracking how much it costs to render a sequence and it is easy to import projects into the client. So therefore, I will be using Pixel Plow to render all my complicated sequences that involves particle effects to maximise efficiency and reduce time to render.

Existing showreels

Escape Studios

Escape studios is an established organisation that specialises in training students to develop their VFX skills. By using software such as Maya, Nuke or Haudini allows the students to create realistic 3D environments and other VFX sequences. So after reviewing some of many of the showreels that Escape studios has posted on Facebook, I realised and reflected what I wanted to achieve in my project.

A showreel created by Carlos Florez has compiled an environment of a deserted environment but added a handful of features to create the scene. By adding elements such as rocks, debris and abandoned buildings help create an effective desolated landscape. The breakdown that Carlos included at the end of the video shows how he used 3D camera mapping and 3D tracking to create this scene. He also utilised a camera pan to create a more cinematic experience as the features adjust accordingly to achieve a more realistic landscape.

Walter How is another VFX practitioner who achieved what I believe is a successful showreel in terms of a technical aspect and creativity. Within this showreel, Walter has included a collapsing building that has taken into account the partial effects, lighting and perspective to achieve a realistic sequence. During the breakdown of the scene, shows the different types of software he used such as Nuke and Maya to create this scene. Each of the used software specialises in different areas of effects such as smoke, particles and camera tracking so by  being well rehearsed in these areas will have this technical workflow that utilises the strengths of each software however it will be time consuming to create a sequence of this level of detail.

So in relation to my project, I want to follow the same workflow as Walter however that would mean I will have to learn a range of software that has a steep learning curve and that will consume a significant amount of time. Therefore, I will have to try and achieve the same destructive effect through Blender, which is fortunately capable of constructing but will not be as detailed as Walter’s example. So how I will begin this process by researching the destructive capabilities and the 3D camera tracking Blender has to offer and apply it to footage I have recorded to familiarise and test how well it works.

Topic Analysis

Showreel Analysis

After viewing existing showreels of 3D environmental showreels, I realised they all share a similar  structure. For instance, the showreels Escape Studios has posted display a breakdown of each example that has been shown within a 1 -2 minute video. While maintaining the same theme throughout, the showreels demonstrates a range of different skill sets such as 3D camera tracking and 3D modelling.

I attended a lecture by Steven Hatton the founder of Electric egg which discusses on what makes an effective showreel within the media industry. In his lecture, he mentions that when it comes to VFX that diversity is a key element. From the showreel examples he shown in the lecture, Steven said that having a mixture of skills of different scenarios allows more opportunities to demonstrate various techniques such as 3D camera mapping and asset modelling. By doing this will show the employer that the applicant has a range of skill sets and maximise their efficiency in terms of work flow and problem solving.

There is also an article by Andrew Price who is well rehearsed in blender and the main points he mentioned were to; make the showreel no longer than 2 minutes, not to include music, include breakdowns of every scene and show the best work. With all of these factors considered, will produce an effective showreel as it is similar to what Steven Hatton said in his lecture. In addition to this, Andrew also highlights how crucial it is to show a diverse skill set in order to widen the applicants capabilities to again, demonstrate what they can do.

 So in relation to my project, it will not be longer than 2 minutes and will not include any type of music. As for what video will include is a collapsing building that has eroded over a long period of time and a computer generated environment of a dystopian landscape. The genre will be science fiction and the location that I will be using is an abandoned building found in Lincoln and a large empty field in which I will be creating this dystopian landscape.

Mood board

With regards to the mood board, I hand selected a few existing concept art that help visualise what works and what doesn’t within a dyspotian world.

sp_dystopia-review_free    619751242-22160322

For my abandoned building ideally should look similarly to the photo above. I realised that the colour pallet used in the two pictures are a mixture of brown and grey tones which is ideal for dystopian setting as it is dull and desolate. The use of debris is utilised as it is seen scattered across the floor space in both pictures to represent a sense of destruction and decay which is again, ideal for a dystopian setting where it seems like the area has not been inhabited for a long period of time. The steel beams hanging from the ceiling is also a great addition to the scene as it further builds on the atmosphere of destruction and I believe that implementing this element to my final video may also have the same effects.

maze-runner-trailer-2-11    22f18c92fc1afcef42651251ca7f4270     The divisiondat     Last of us

As for the dystopian landscape I intend to add in my showreel, is inspired by many examples as shown above. They all visualise a different type of a dystopian environment, but they all share similar conventions. For instance, they all have a sense of desolate and isolated atmosphere and the use of destruction is also evident in all pictures. I find that the pictures that contain dunes and snow are a perfect example of extreme weather conditions as it overwhelms civilizasions. I believe that this style of a dystopian landscape is a good starting point in how I create my environment. The other photos that contain a vast amount of foliage is also something I want to implement in my final piece as it creates a sense of isolation where nature has taken back the land.

After Effects vs Blender

3D Camera Mapping

For this test, I wanted to familiarise myself with 3D camera mapping within after effects and blender while comparing the results with one another. This will help me understand which software will be ideal for me to use for certain tasks which will therefore allow me to save valuable time to work on other aspects of this project.

After effects

When using after effects, the tools and mechanics are already familiar to me so workflow is not an issue in this regard. But when it comes to learning how to 3D camera map is surprisingly simple then is thought. However the quality  of the outcome is somewhat mediocre in terms of how convincing it looks as when the camera pans downwards, the illusion of 3D camera mapping becomes incredibly noticeable. On the upper hand, rendering the film is quick to export and edit which is essentially ideal to use for secondary elements.

By using the projection tool in after effects, allows me to use a picture I have chosen to and project it on a white plane which makes to the walls, the floor and the ceiling. as the camera flies through the environment, tricks the viewer that this is a 3D environment and not a 2D picture.

gdfg

Blender

Blender on the other hand takes an entirely different approach which involves Photoshop to chop up the picture that I will be using and apply them in their respectful plane. So much like after effects, it doesn’t necessarily projects the image on the plane, but reconstructs the environment using simple shapes.

kjhkjh

 Although this method requires more time to create compared to after effects, the outcome is significantly  better in as blender takes into account the perspective and the focal lens that were used to create a realistic 3D render of the environment. The lighting is also considered in this scene to further create the illusion of a 3D environment so as the camera moves from side to side, the lighting will adjust accordingly to where the camera is positioned.

 In terms of complexity, blender is also capable of creating realistic environments that might have obstructions in the scene like rocks on the floor or walls that might affect how the 3D environment looks as the camera pans across. This capability may be useful in my project if I want to create an environment that is the main focus as blender can seamlessly create a realistic 3D environment up close even when the camera is panning from one side to another.

In conclusion, when developing my dystopian environment I will be using blender to render the main focus of the film where necessary as between the two software, blender is evidently better in terms of how realistic the 3D scene looks. However, the draw backs that blender has is that fact that it requires more time to create, render and export the final outcome. After effects on the other hand lack in quality and capability when creating a 3D environment but in return, the time taken to create the 3D render is significantly less compared to blender. Therefore, after effects will be ideal to create secondary scenes that doesn’t attract much attention.